
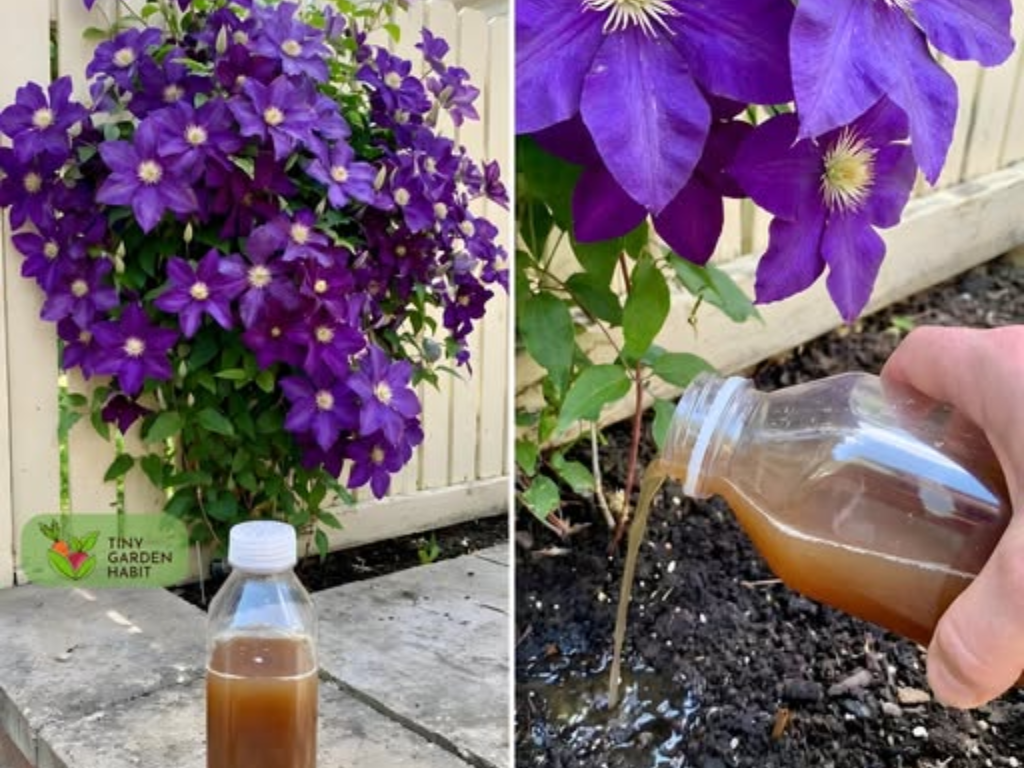
Clematis plants are fundamentally simple organisms, almost mechanical in nature, driven by basic principles of plant hydraulics and a kind of blind survival instinct. To achieve more abundant blooms, the best approach is often to leave your clematis alone until it precisely signals the need for nutrients, then provide exactly what it requires at the right time. The key is having a guide to know when and how to do this effectively.
Understand Your Clematis’ Pruning Group Before Feeding
Applying nitrogen without first determining your clematis’s flowering pattern usually results in wasted money and time, encouraging excessive leafy growth at the expense of flowers.
The pruning group your clematis belongs to indicates whether it blooms on old wood, new wood, or both, which directly influences the optimal time to fertilize.
Group 1: Clematis Blooming in Spring

Varieties like Clematis Montana develop their flower buds on the previous summer’s old wood. When spring arrives, they are ready to burst into bloom. It is important not to enrich the soil with heavy fertilizers while the plant is still climbing with tight buds, as this would encourage leafy growth instead of flowers.
When to fertilize Group 1: Wait until the last petals have fallen in spring, and only fertilize if the plant shows signs it needs it. A balanced fertilizer or one low in nitrogen, applied according to recommended doses, works perfectly.
Group 2: Repeat-Flowering Clematis

This group, like Clematis Nelly Moser, is the “high-maintenance child” of the garden. They produce an initial bloom on old wood, then attempt a second flowering on new growth during summer.
The transition period between the two flowerings is the optimal time to fertilize, as it provides a clean opportunity to nourish the plant without jeopardizing the first bloom.
When to fertilize Group 2: Apply fertilizer after the first flowering ends, using a balanced or nitrogen-low fertilizer at the recommended rate.
Group 3: Summer and Autumn Blooming Clematis

Varieties such as Clematis Jackmanii restart from scratch each year, building their floral growth from nothing.
A severe pruning in late winter removes last year’s stems. As soon as fresh green shoots emerge from the base, the plant demands nutrients.
When to fertilize Group 3: Apply fertilizer immediately after pruning, as new shoots appear, using a balanced or nitrogen-poor fertilizer at the suggested dose.
Monthly Fertilization Schedule for Clematis

Ultimately, it’s less about a fixed calendar date and more about soil temperature, weather conditions, and visible growth signs that determine when to act. Consider these monthly guidelines as flexible recommendations, not rigid rules.
January and February: Typically No Fertilizer

Deciduous clematis are dormant and practically inactive. Spreading fertilizer granules on frozen or waterlogged soil is more likely to waste your money than nourish the plant.
March and April: Fertilize Group 3 After Pruning

This marks the starting point for Group 3. After heavy pruning, watch the crown carefully. Wait for the soil to thaw and young green shoots to appear before applying a balanced or low-nitrogen fertilizer.
USDA Zones 7-9: Growth often starts in March.
USDA Zones 5-6: Growth generally resumes in April.
USDA Zones 3-4: Growth may not begin until late April or May.
You cannot force a frozen root system to activate earlier than its natural schedule, just as no one can force me out of bed early on a cold morning.
Tip: If the soil feels hard and the plant still seems dormant, keep the fertilizer dry and wait.
May and June: Fertilize Groups 1 and 2 After Flowering

With the spring display fading and petals carpeting the ground, it’s time to replenish nutrients. As soon as the first bloom finishes, apply a balanced or low-nitrogen fertilizer to Groups 1 and 2 on the soil surface.
Is Your Clematis in a Pot?
Plants grown in pots operate under different physical laws. Frequent watering causes rapid nutrient leaching through drainage holes, much faster than in open ground.
Clematis in containers therefore need lighter, more frequent fertilizer applications during their active growth period. Personally, I use a liquid fertilizer formulated for tomatoes or roses at the recommended dose every few weeks.
July and August: Fertilize Only If Necessary

Starting in August, the schedule becomes more region-dependent. Late nitrogen feeding may encourage tender growth that won’t harden off before the first frosts, so your USDA zone is crucial.
USDA Zones 3-5: Cease all fertilization by mid-July. The growing season is too short to risk fragile stems entering autumn.
USDA Zones 6-7: Fertilize only if the plant is still growing actively, then stop by early August.
USDA Zones 8-9: A light feed in August may be useful if the plant remains in growth and the soil stays moist.
Avoid fertilizing if the plant is stressed by a heatwave or drought. Feeding a heat-stressed clematis can backfire. It’s like eating a heavy lasagna during a heatwave: no one benefits.
September to December: End Regular Fertilization

Growth slows naturally. The goal is to let the plant slow down and harden without prompting vulnerable new shoots that would inevitably freeze.
Shift focus to watering. In dry conditions, give a deep watering to the roots before the ground freezes. Then apply 5 to 8 cm of coarse organic mulch to moderate temperature fluctuations and reduce soil heaving from frost. Be sure to leave a few centimeters of space around stems and crown.
Adjust Your Routine According to USDA Zone
USDA zones indicate average extreme minimum winter temperatures but don’t directly reflect how a plant reacts in your garden. They serve as a helpful guideline, but local conditions and actual growth patterns dictate the true schedule.
USDA Zones 3-5
The growing window is very brief. Springs start late and winters come early. Therefore, fertilization is compressed into a short period from mid-spring to mid-summer.
Groups 1 and 2: Fertilize as soon as the first flowering ends.
Group 3: Fertilize after pruning when growth resumes.
Stop: Cease all fertilization by mid-July to ensure shoots mature before frost.
USDA Zones 6-7
This is the classic model. Spring offers enough breathing room to fertilize without rush, yet timing still matters.
Groups 1 and 2: Fertilize after the first flowering, usually in late spring or early summer.
Group 3: Fertilize post-pruning when growth often begins in April.
Stop: End fertilization by early August to allow young shoots to harden before winter.
USDA Zones 8-9
Early warmth changes the equation. Spring arrives quickly, but July and August can dry out soil, forcing clematis into survival mode.
Groups 1 and 2: Fertilize after the first flowering as long as spring soil moisture persists.
Group 3: Fertilize after pruning in late winter or early spring.
Stop: Avoid fertilizer during extreme heat or drought. Prioritize deep watering, afternoon shade, and 5 to 8 cm of mulch around the root zone, ensuring no direct contact with crown or stems.
Variety, flowering habits, local microclimates, and direct plant observation always outweigh the simple USDA zone indicated on a label.
A Good Routine Is More Important Than Fertilizer Quantity
A spectacular floral display doesn’t arise from a chemical cocktail but from precise timing of nutrient delivery. Always tailor fertilization to the growth stage specific to each pruning group, respect your local climate, and cease feeding before winter. Master this schedule, and the plant will take care of the rest.

Navigating Aloe Vera Care: Bypassing Usual Oversights Aloe vera, celebrated for its therapeutic properties and eye-catching demeanor, is occasionally compromised Read more

For gardening enthusiasts, it's a known fact that many plants thrive in humid and warm climates conducive to their growth. Read more

Neem oil is a completely natural product, derived from a plant native to India. It contains azadirachtin, a potent compound Read more

Wild Medicinal Plants: Harnessing the Hidden Virtues of Earth’s Greenery In the wilderness of our environment—ranging from the expanse of Read more

Cultivating an Avocado Plant Indoors: A Step-by-Step Guide Nurturing an avocado seed into a blossoming plant within the confines of Read more

Turmeric is a staple ingredient in Asian cuisine. This vibrant yellow spice, often used to flavor curries and stews, is Read more
Orchids, admired for their exotic beauty and vast variety, demand specific care to flourish. While many growers rely on commercial Read more
Exploring the World of Eggplants: A Gardener's Guide Eggplants, with their divisive nature, are often a subject of culinary debate. Read more

Indoor Plants: A Decorative Air Purifier Indoor plants have become an essential part of modern decor, increasingly sought-after to greenify Read more
Hydrangeas, with their breathtaking blooms, stand out as one of the most enchanting deciduous flowering bushes. If you've wandered through Read more

If you don't often get the chance to rejuvenate in the midst of nature, there's an alternative: introducing plants to Read more
When it comes to gardening, enthusiasts are always eager to discover effective and affordable methods to boost plant growth and Read more
Self-Seeding Flowers: Effortless Beauty That Returns Every Year When I first fell in love with gardening, my mother came to Read more

Mastering Chilli Cultivation in Diverse Climates: A Detailed Guide It may seem unlikely, but growing chillies across different climates is Read more
Nature provides us with countless remedies in the form of wild medicinal plants, surrounding us everywhere we go. These healing Read more
Some years, the effort put into gardening seems barely worth it, but this autumn, the value of gardening becomes clear. Read more

In the culinary world, garlic is a staple ingredient that is hard to do without. Cultivating it benefits many plants Read more
Easy Clove Growing: From Seed to Spice – A Beginner’s Guide Cloves are among the most treasured spices in the Read more

Using Baking Soda for Plant Care To care for your plants or your vegetable garden, have you considered the DIY Read more
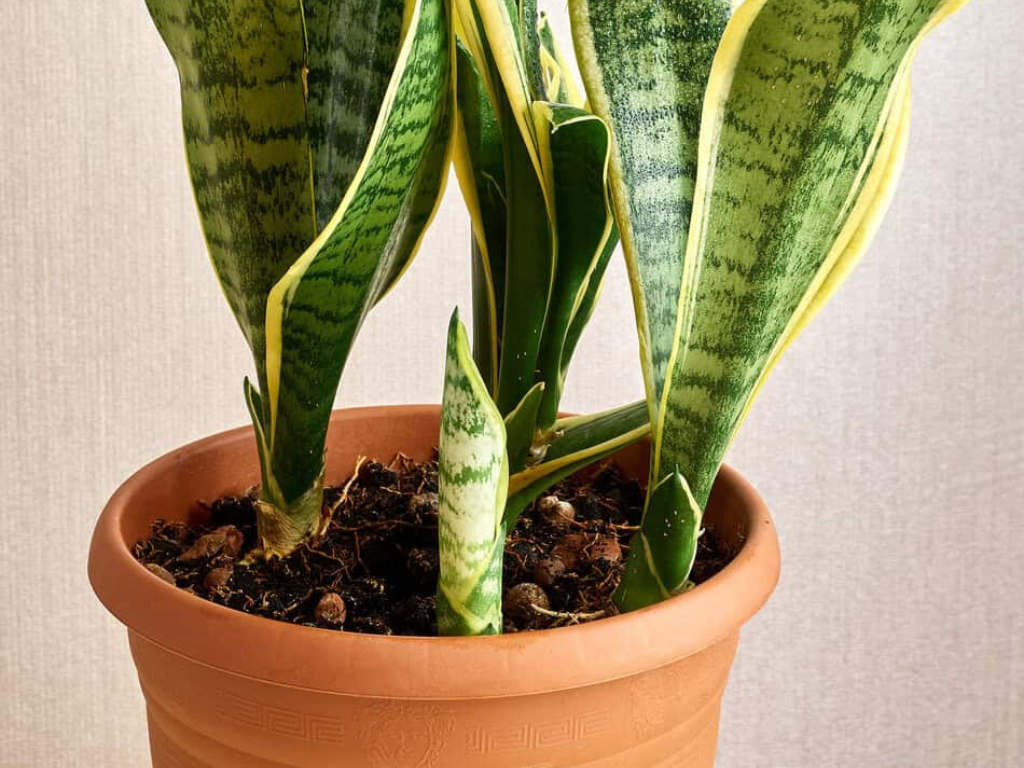
Snake plants (Dracaena trifasciata, formerly known as Sansevieria trifasciata) are renowned for their remarkable resilience. No matter if they receive Read more

The Curious Case of Tomato Slices: A Journey from Kitchen Scrap to Sprout As someone always game for a gardening Read more

Excessive moisture within a house can arise due to capillary action, infiltration, or the phenomenon of condensation. The latter is Read more

In this exploration, we uncover eight homemade, natural solutions that act as effective rooting agents for plant propagation through cuttings. Read more
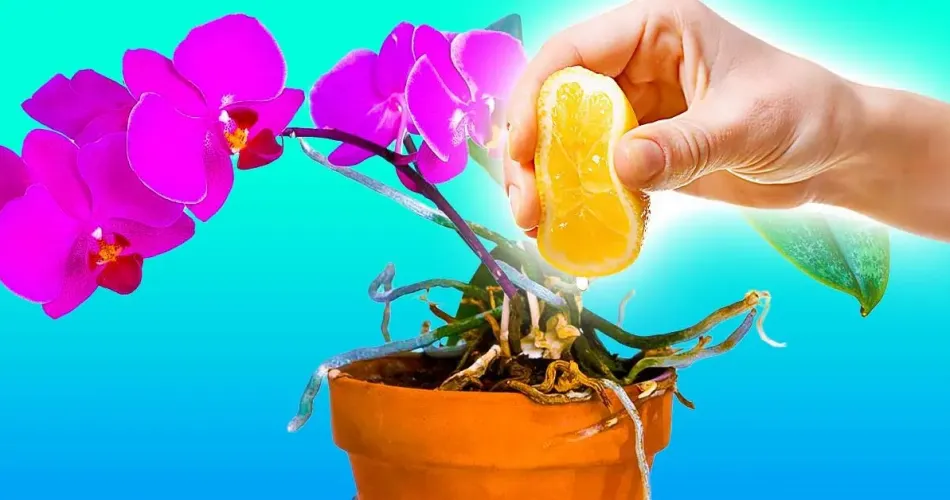
Orchids, with over 28,000 unique species, provide a fascinating insight into the immense diversity found in nature. Originating from the Read more
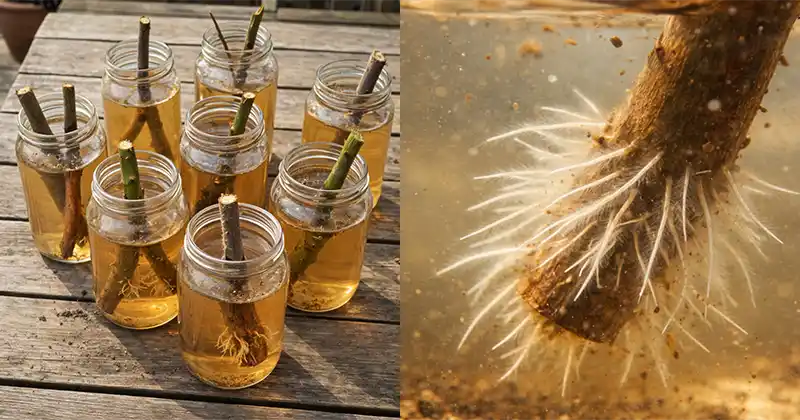
Growing new plants from root cuttings is like discovering a true shortcut in gardening. A single healthy parent plant can Read more

Different perspectives exist on various aspects of nature, and this holds true for the dandelion, often dismissed as a mere Read more

Orchids are renowned for their stunning blooms and are a favorite among indoor plant enthusiasts. However, getting these temperamental beauties Read more

Get a Head Start on Your Garden: Indoor Sowing for Colder Climates There's no need to wait for spring's embrace Read more
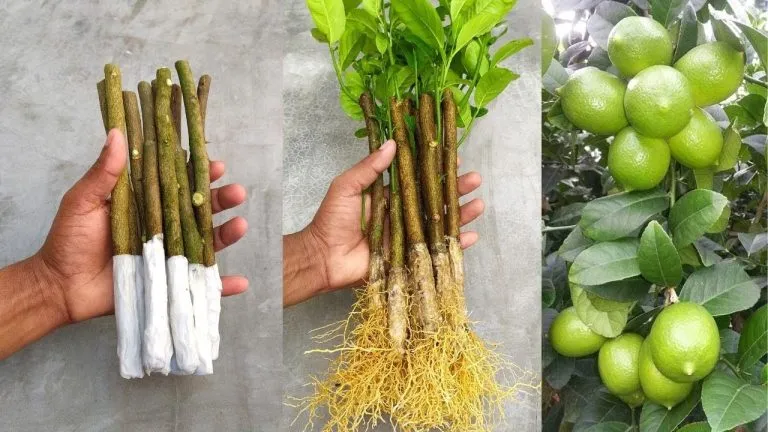
Cultivating lemon trees in your garden or home brings not only visual charm but also the practical advantage of homegrown Read more
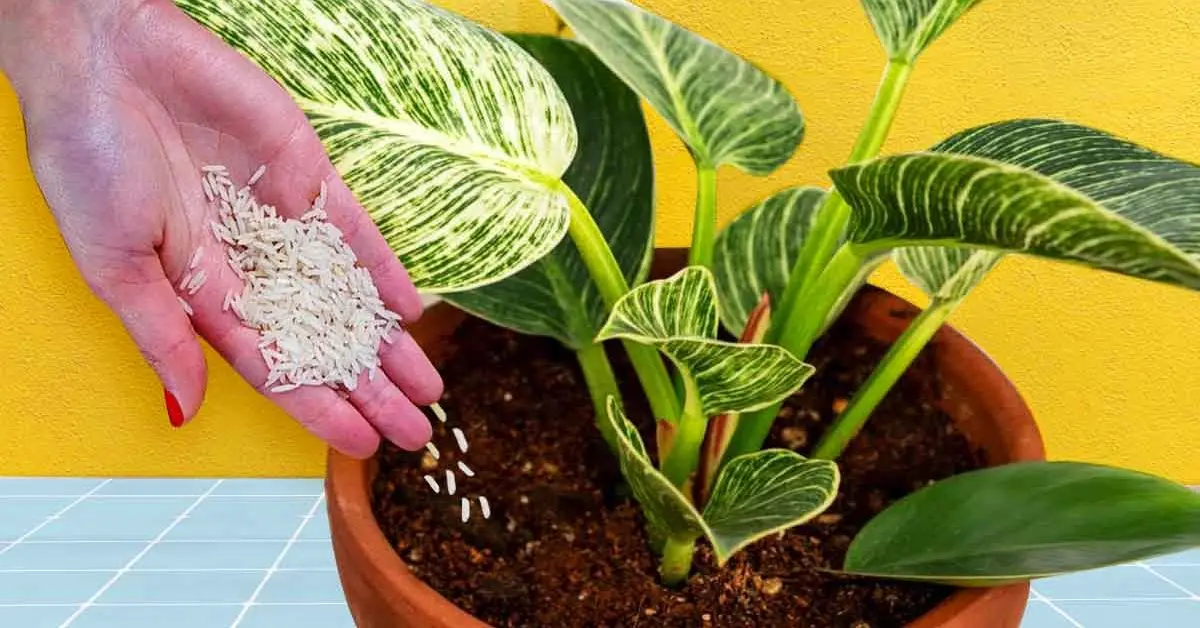
Indoor Plants and Their Benefits Indoor plants not only enhance the decor but also bring a touch of lush greenery. Read more

How to Reuse Barbecue Ashes After enjoying a barbecue outdoors on a sunny day, the tendency is often to discard Read more
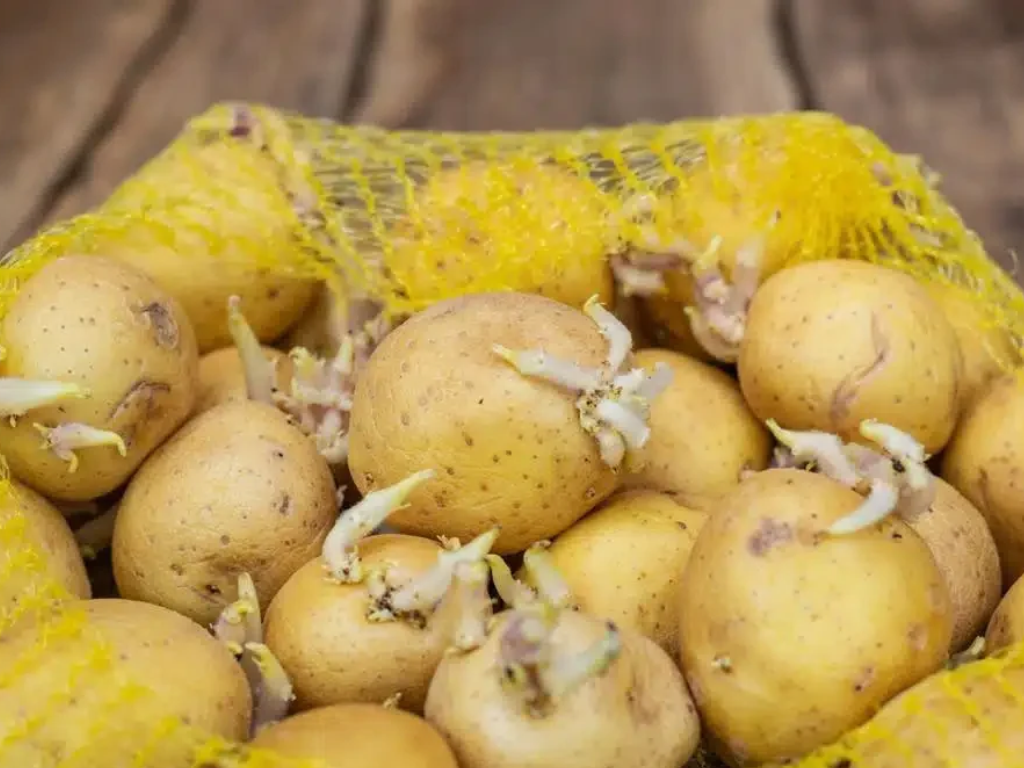
Three Little-Known Tips to Keep Your Potatoes in Perfect Condition Choosing the Right Location for Storage The way you store Read more
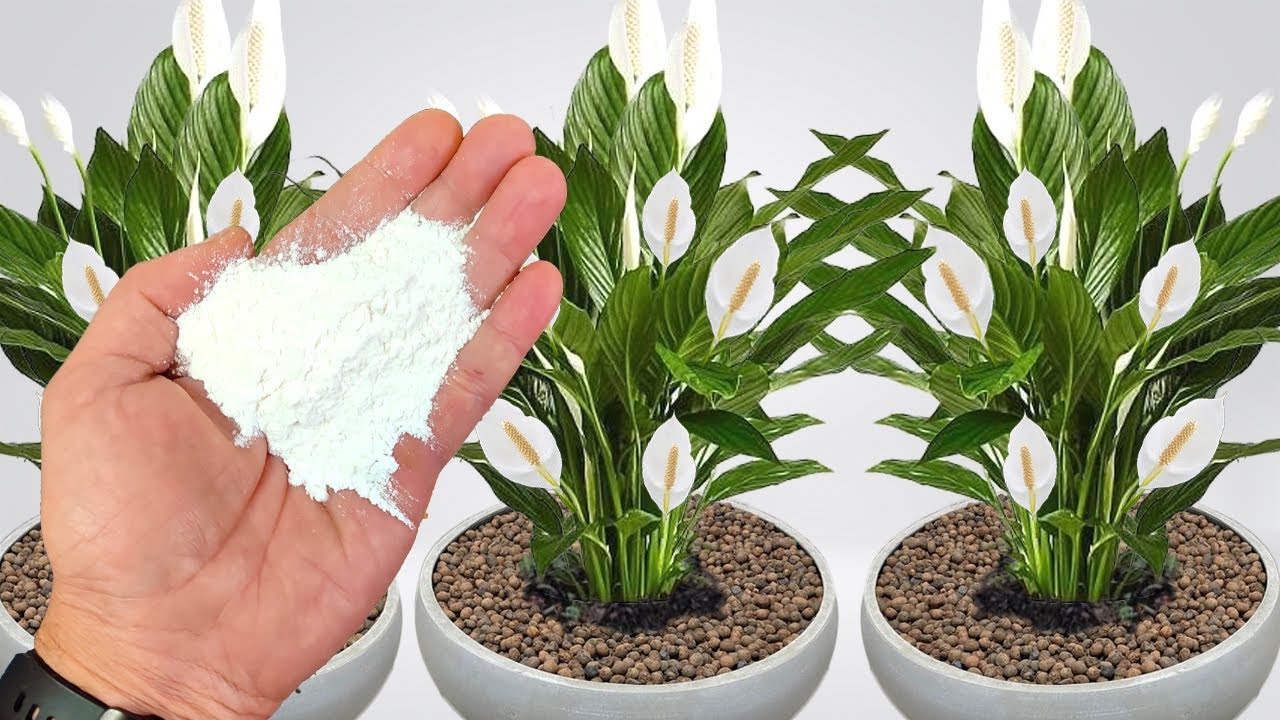
Are you searching for an affordable and eco-friendly alternative to chemical fertilizers? An unexpectedly powerful solution might already be in Read more
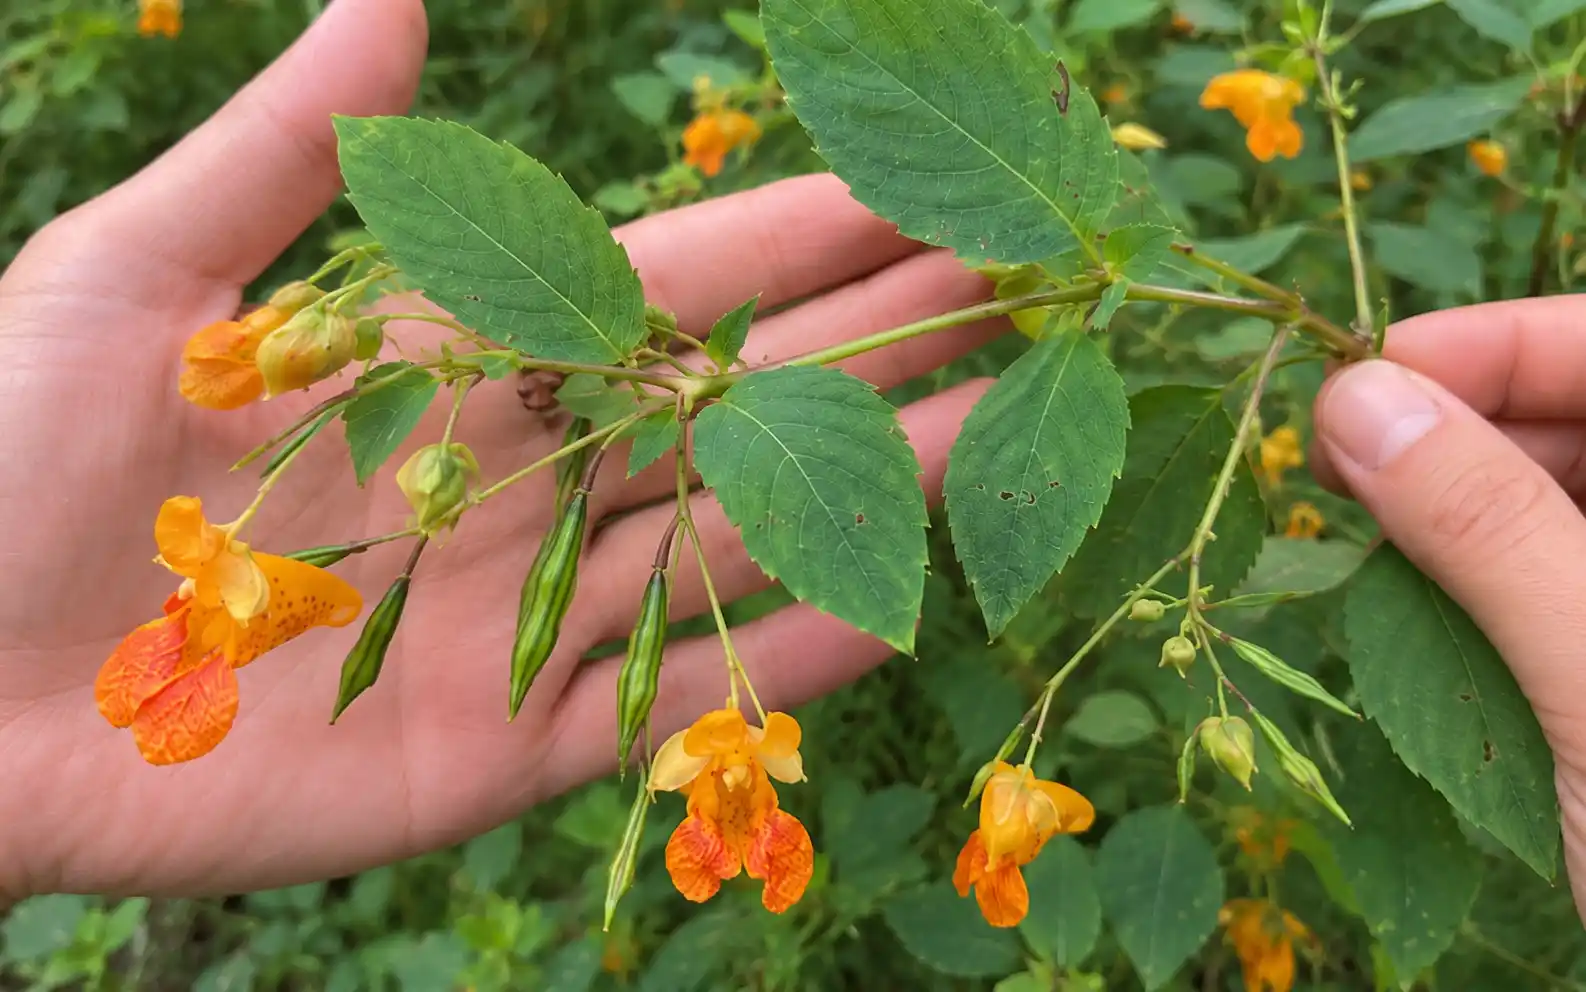
Safety and Medical Disclaimer: The information provided in this article is intended solely for educational and informational purposes. We disclaim Read more
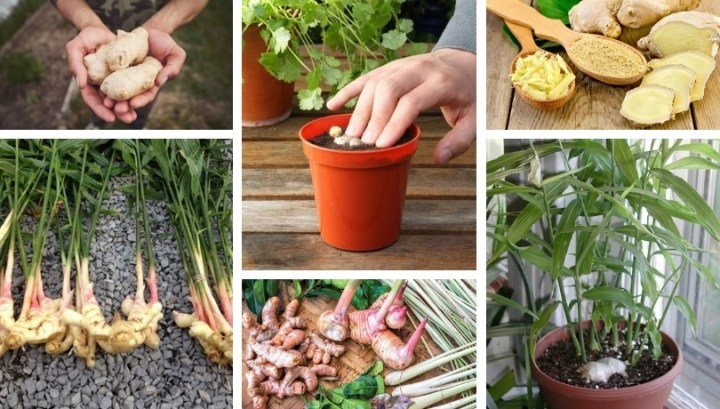
Ginger, renowned for its distinct flavor and numerous health advantages, is a fundamental ingredient in many culinary traditions around the Read more

Understanding Fertilizers for Plants Fertilizer is a product that can be spread or mixed into the soil to provide plants Read more

Lavender, a charming addition to any garden, is known for its enchanting aroma and vibrant purple hues. This plant comes Read more

Orchids, with a staggering 28,000 unique species, beautifully demonstrate nature's rich tapestry of diversity. Originating from the Orchidaceae lineage, these Read more
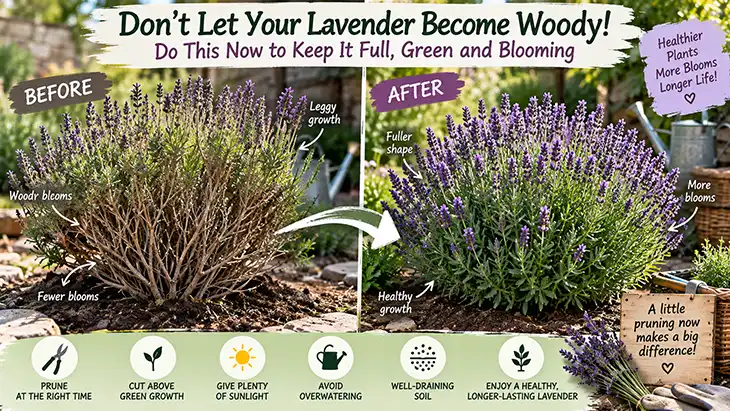
When lavender plants are young, they often present an almost perfect image: a compact shrub with silvery-green foliage, a delightful Read more

Using White Vinegar for Garden Maintenance Gardening is never an easy task. Planting, weeding, and watering plants and flowers require Read more
