
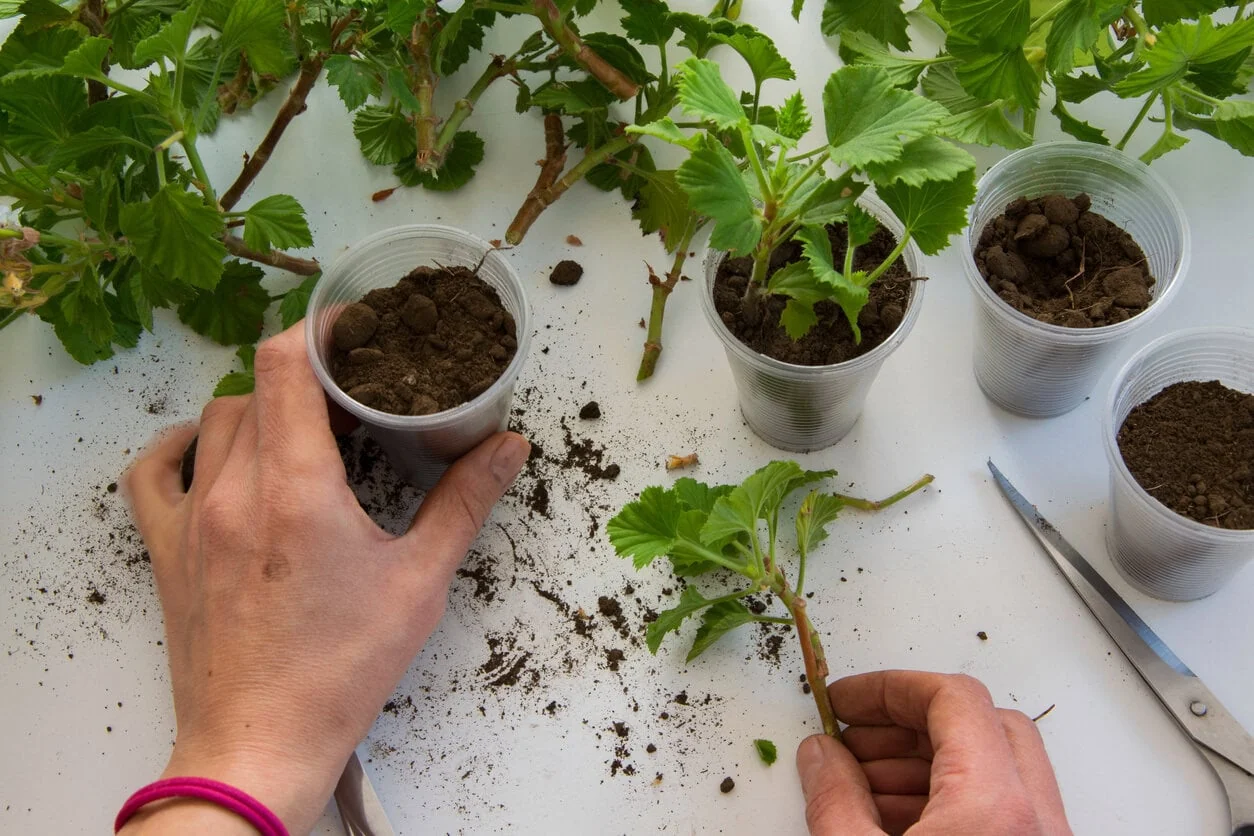
Some years, the effort put into gardening seems barely worth it, but this autumn, the value of gardening becomes clear. A well-lit window combined with a small cutting tray results in new and economical plants by spring.
Take a few cuttings from your favorite geraniums and save money on your next batch of plants in the coming spring.
Choosing the Right Time and Mother Plant

Prepare your cuttings as long as your geraniums show healthy growth and before frost hits. The ideal timing depends mainly on local climate conditions rather than a strict calendar.
Before frost: If your geraniums are still growing outdoors, take cuttings from healthy stems before temperatures drop below freezing.
After frost: If you have already brought them indoors before the cold, you can still take cuttings from vigorous shoots. Simply avoid stems damaged by frost, as they will not root.
Cuttings apply specifically to tender geraniums (Pelargonium), whether ornamental, ivy-leaved, or scented varieties, and not to hardy perennial geraniums (Geranium) that survive winter outdoors. Only use material from robust mother plants.
Examine the leaves, stem tips, and especially the base near the soil. Yellow spots, discoloration, pests, or black rot at the base? Just skip that plant. Such a plant could contaminate your cuttings and ruin your propagation tray.
How to Prepare the Perfect Cutting
Just taking a stem, planting it in a substrate, and hoping for the best? Geraniums are forgiving, but successful propagation requires a bit more attention.
Where you make the cut and what you leave behind are very important. Grab your scissors and honor what you learned in high school biology.
1: Select the Right Shoot
To ensure good rooting, the cutting must include at least two nodes — those small joints from which leaves grow. Cutting off only a leaf is not enough: it might root but will never become a full plant.
Choose firm, healthy stem tips, and if possible, favor shoots without flowers.
If only flowering stems are available, first remove flowers and unopened flower buds. Why? Without a flower to feed, the cutting can focus its energy on growing roots.
2: Measure and Cut Properly

Measure about eight to ten centimeters from the tip of the shoot and locate a node, that distinctive bump where a leaf grows.
Use a sharp knife or pruning shears disinfected with alcohol. Make a clean cut just below the node being careful not to crush or damage the stem.
3: Remove Excess Foliage

Pinch off the lower leaves, leaving only a few at the top. Gently remove small stipules (those tiny green scales at the leaf base) and any remaining flower buds.
Fewer leaves mean less transpiration while roots develop. Exposing the stem base also prevents leaf rot caused by leaves buried in the substrate.
How to Prepare the Cutting Tray

Don’t throw away your clear plastic trays used for berries or salads. They make excellent propagation trays as long as they have good drainage and sufficient ventilation.
Here’s how to proceed:
Make drainage holes: use a screwdriver to poke several holes in the bottom of the container. If there is a lid, leave it slightly open to encourage airflow.
Prepare the substrate: avoid using raw garden soil. Fill the tray with about 7 centimeters of a mixture of equal parts coarse perlite and sphagnum peat. Moisten it until it feels like a wrung-out sponge, then allow excess water to drain.
Make planting holes: take a pencil no longer in use and poke holes about 5 cm apart. This prevents damage to the fragile stems when inserting them into the substrate.
Place the cuttings: insert each cutting about 2.5 cm deep, ensuring at least one bare node is buried beneath the surface. Firm the substrate gently around the stems to stabilize them.
Remember, these plastic trays are only a temporary habitat. With patience, cuttings will develop enough roots to be potted individually within approximately four to eight weeks.
Caring for Cuttings During Rooting

The hardest part is behind you! The next step mainly involves patience while ensuring good conditions. Here are our tips to pamper your cuttings:
Light: place the tray in a bright location, sheltered from direct sunlight. Excessive heat under a plastic dome might scorch the delicate stems.
Watering: check the substrate every few days. It should remain slightly moist but never waterlogged. Bottom watering is ideal, but avoid stagnant water at all costs.
Temperature: an environment between 18 and 21 degrees Celsius (64-70°F) is perfect to encourage rooting.
Root checking: from the fourth week, gently lift a cutting with a pencil to check for root formation. When roots reach about two centimeters, you can pot each plant individually.
After repotting, a sunny spot such as a windowsill or a grow light on for 12 to 14 hours daily will help the young plants flourish. Allow the substrate surface to dry between waterings and only fertilize once the plants are healthy and actively growing.
From Windowsill to Garden

Once the risk of frost has completely passed and the weather warms, your geraniums overwintered indoors will be ready to return to the garden. Do not expose them abruptly to full sun on the first day.
Indoor leaves are tender and sensitive to sunburn. Take ten days to gradually acclimate them to outdoor conditions:
Days 1 to 3: place pots in a sheltered, shaded area for two hours, then bring the plants back inside.
Days 4 to 6: expose them to gentle morning sun and extend outdoor time to 4-5 hours per day.
Days 7 to 10: slowly increase sun exposure and outdoor time, monitoring moisture carefully. Spring winds can quickly dry out small containers.
And then? Whether in the garden, pots on the terrace, or hanging baskets, choose a sunny spot that could use some color, where your geraniums will thrive.
Once plants are well established, feel free to pinch the top of the main stem. This may seem counterintuitive, but it encourages lateral branching, resulting in a bushier form with more flowers.
Why Prioritize Nodes When Taking Cuttings
Simply taking a geranium leaf to root might seem easier. It might produce some roots but without a segment of stem carrying a node, it will never grow into a full new plant. To guarantee your geranium crop in spring, always choose cuttings that include stem nodes. Anything else leads nowhere.
Deadly Nightshade (Atropa belladonna): The Mysterious and Dangerous Plant with a Dark Legacy At first glance, Deadly Nightshade (Atropa belladonna) Read more
Nature provides us with countless remedies in the form of wild medicinal plants, surrounding us everywhere we go. These healing Read more

Orchids, with their array of species and hybrids exceeding 25,000, stand as a testament to botanical beauty. Cultivators and hobbyists Read more
Orchids, with over 28,000 unique species, provide a fascinating insight into the immense diversity found in nature. Originating from the Read more
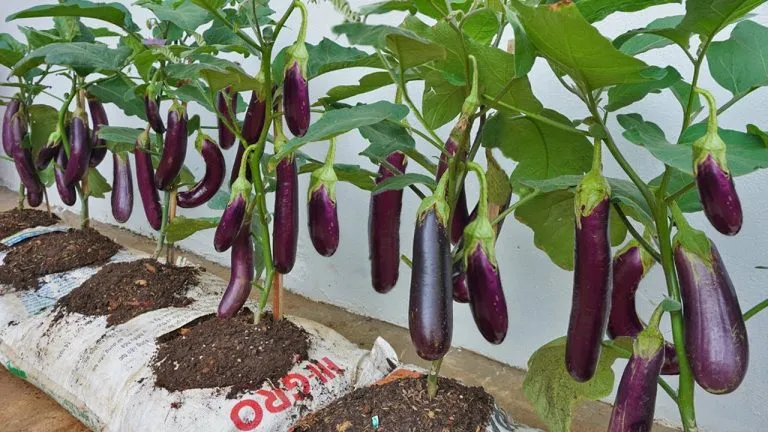
Exploring the World of Eggplants: A Gardener's Guide Eggplants, with their divisive nature, are often a subject of culinary debate. Read more

Growing avocados can be a gratifying experience, especially when you cultivate them right in your backyard. While starting avocados from Read more
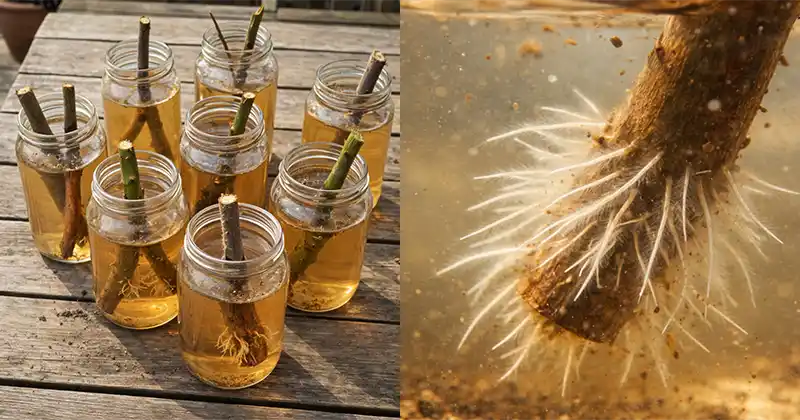
Growing new plants from root cuttings is like discovering a true shortcut in gardening. A single healthy parent plant can Read more
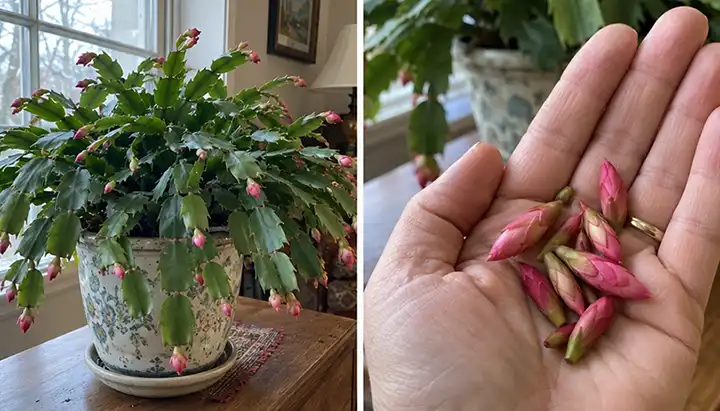
If your Christmas cactus has stayed healthy throughout the year but produced only a few flowers last winter, October might Read more
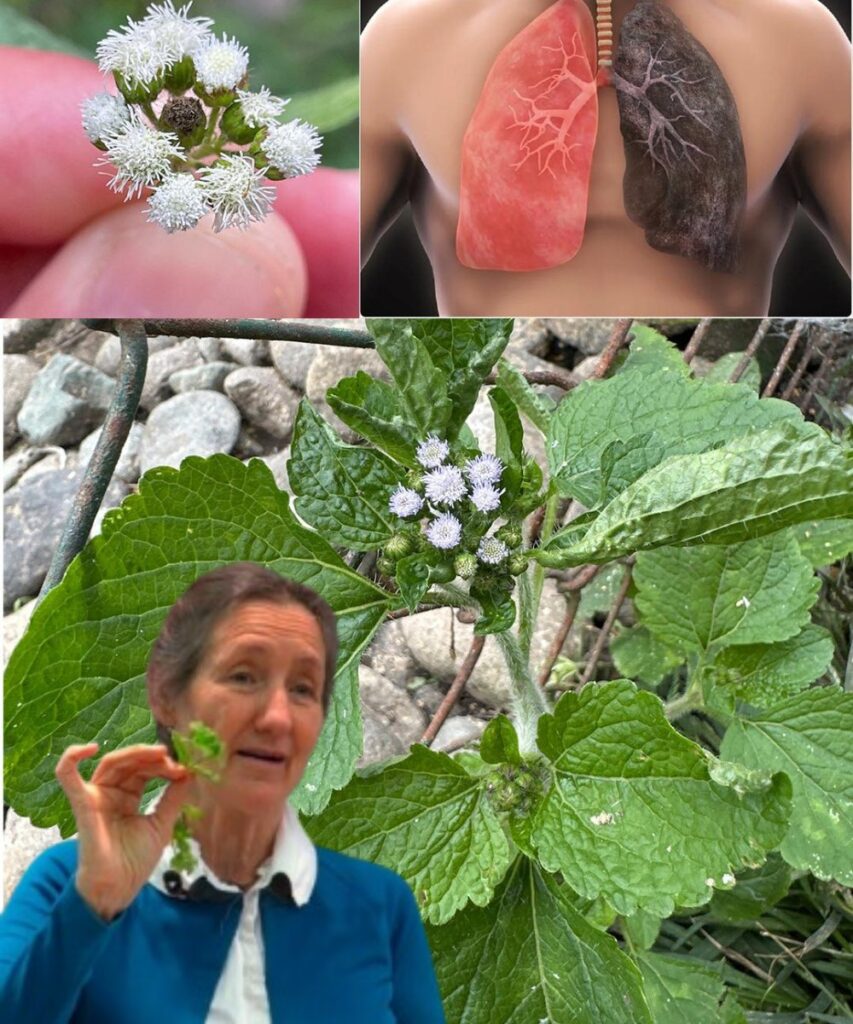
The Incredible Healing Power of Billygoat Weed (Ageratum conyzoides): 15 Health Benefits You Should Know About Billygoat weed, also known Read more

Unlocking the Flowering Potential of Anthuriums Anthuriums are renowned for their stunning, heart-shaped blooms which, under ideal conditions, can grace Read more
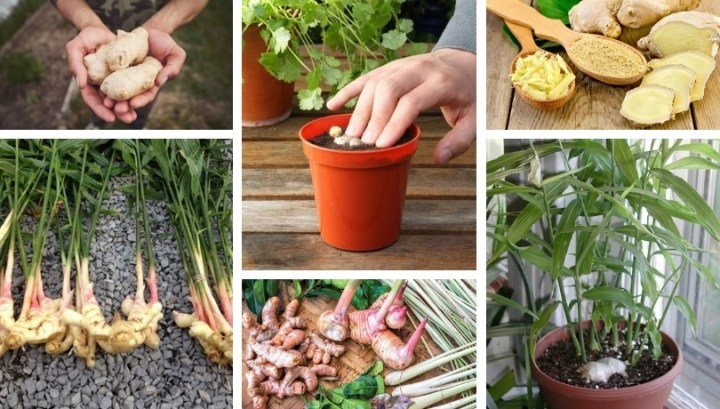
Ginger, renowned for its distinct flavor and numerous health advantages, is a fundamental ingredient in many culinary traditions around the Read more
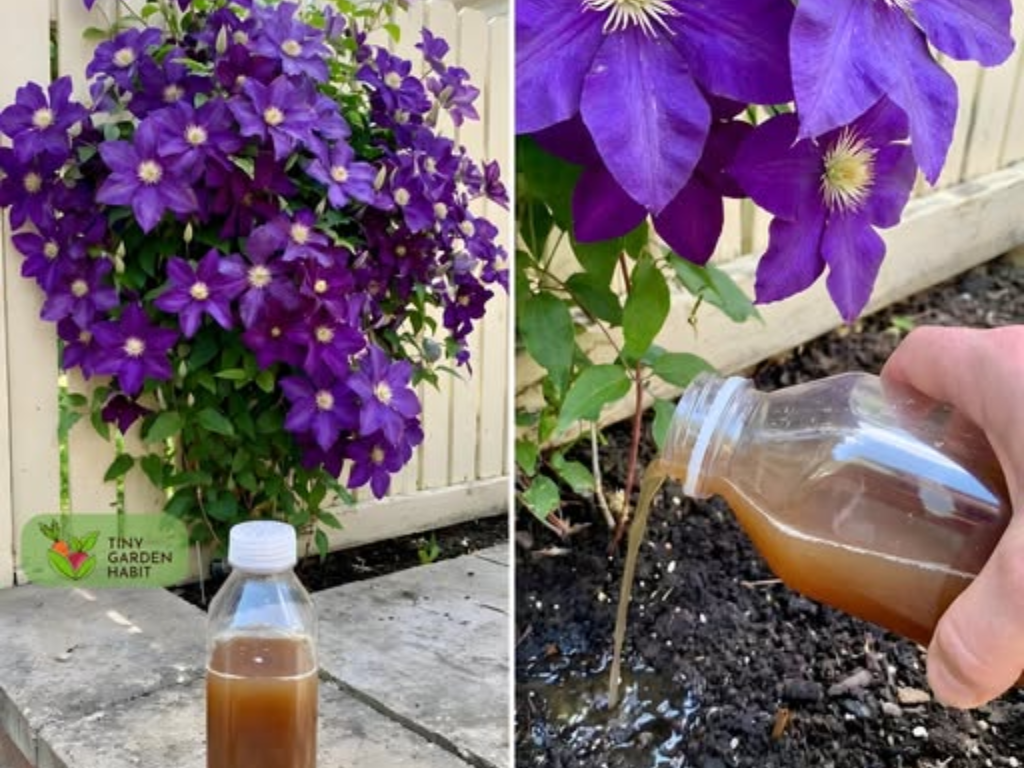
Clematis plants are fundamentally simple organisms, almost mechanical in nature, driven by basic principles of plant hydraulics and a kind Read more
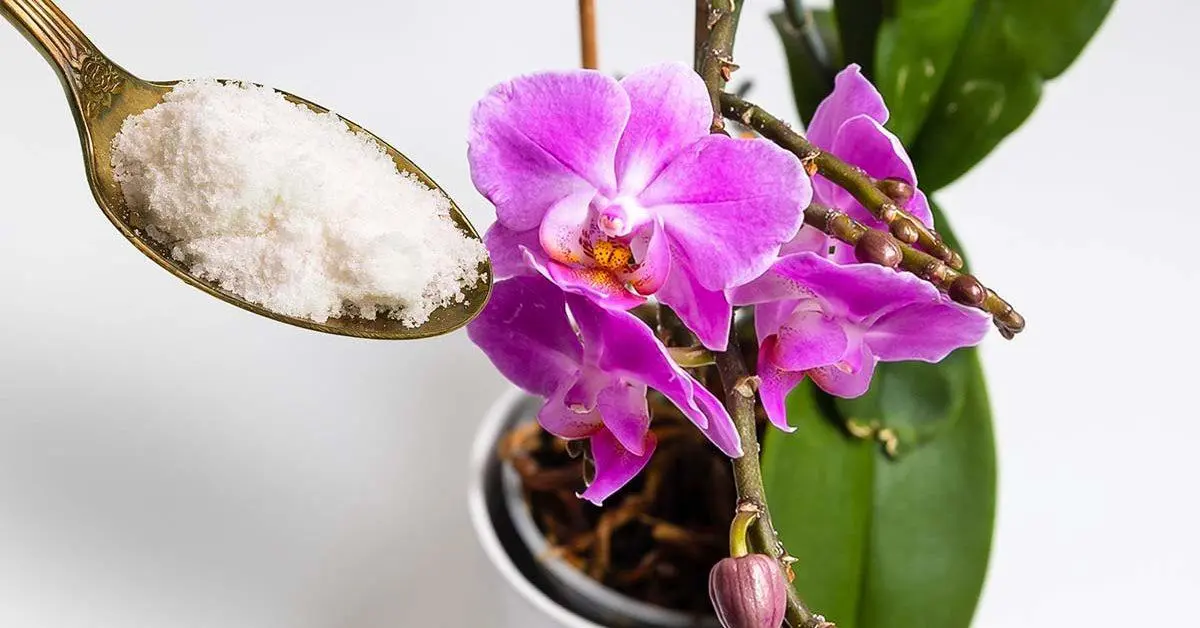
Do you have indoor plants? They have a unique ability to infuse life and color into any environment, whether it’s Read more
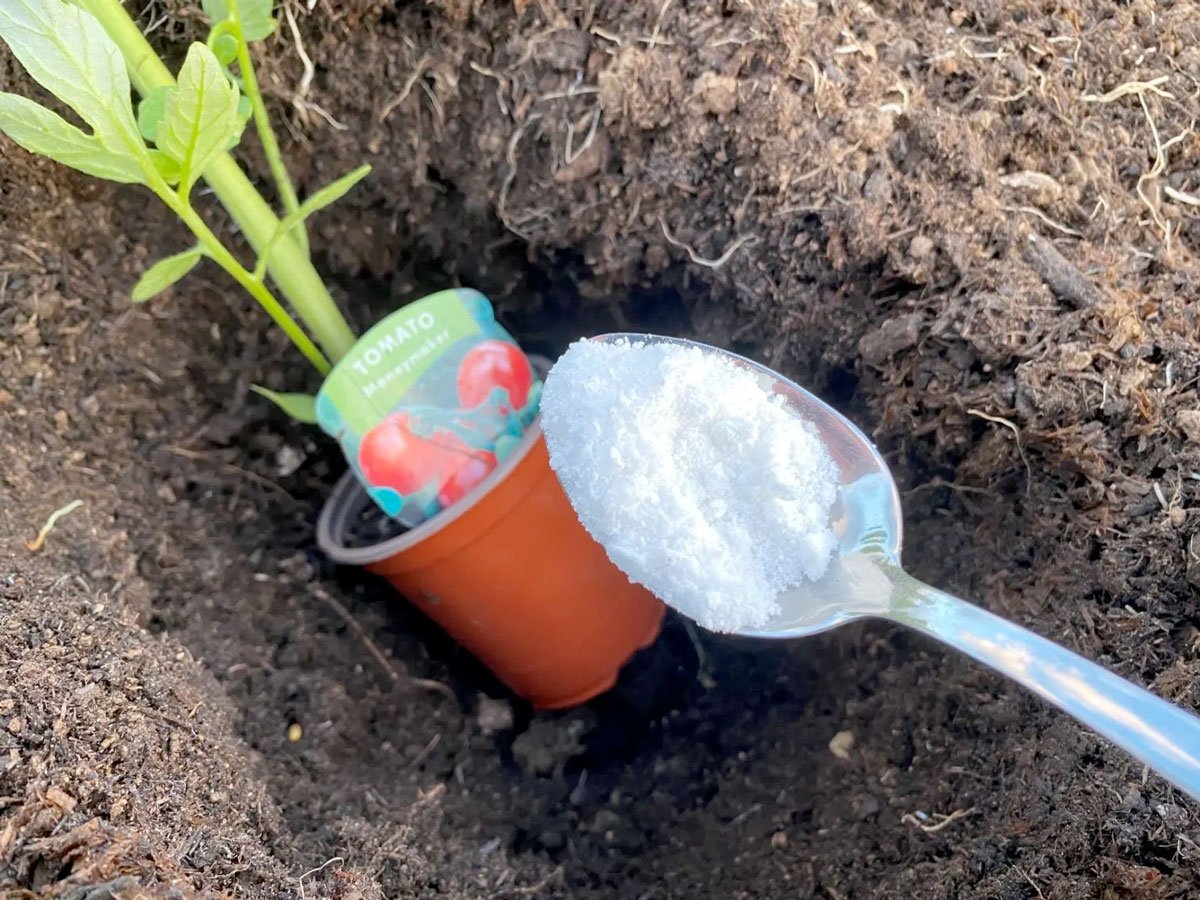
When it comes to gardening, enthusiasts are always eager to discover effective and affordable methods to boost plant growth and Read more
Easy Clove Growing: From Seed to Spice – A Beginner’s Guide Cloves are among the most treasured spices in the Read more

How to Reuse Barbecue Ashes After enjoying a barbecue outdoors on a sunny day, the tendency is often to discard Read more
The ancient custom of drinking tea has been cherished by cultures around the world for centuries. Yet, surprisingly few people Read more

Neem oil is a completely natural product, derived from a plant native to India. It contains azadirachtin, a potent compound Read more
Self-Seeding Flowers: Effortless Beauty That Returns Every Year When I first fell in love with gardening, my mother came to Read more
As sustainability and eco-consciousness continue to rise in importance in our daily lives, discovering alternative methods to fertilize our gardens Read more

In this exploration, we uncover eight homemade, natural solutions that act as effective rooting agents for plant propagation through cuttings. Read more
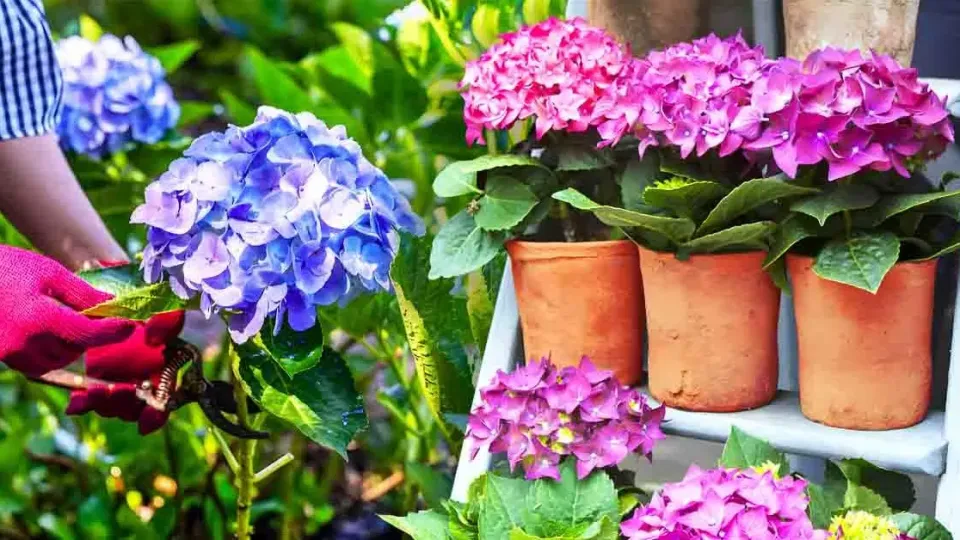
Hydrangeas, with their breathtaking blooms, stand out as one of the most enchanting deciduous flowering bushes. If you've wandered through Read more

Lavender, a charming addition to any garden, is known for its enchanting aroma and vibrant purple hues. This plant comes Read more

Wild Medicinal Plants: Harnessing the Hidden Virtues of Earth’s Greenery In the wilderness of our environment—ranging from the expanse of Read more
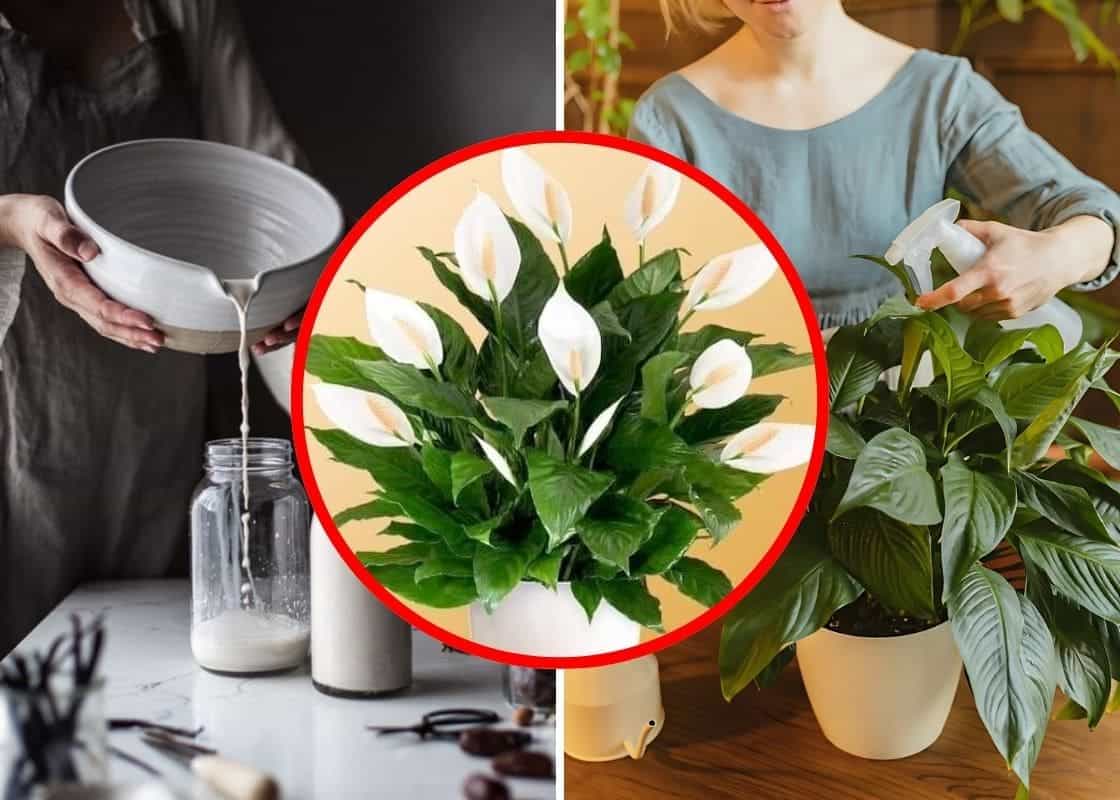
Peace lilies (Spathiphyllum) rank among the most cherished indoor plants, and it’s easy to understand why. Their shiny, deep green Read more

In the culinary world, garlic is a staple ingredient that is hard to do without. Cultivating it benefits many plants Read more
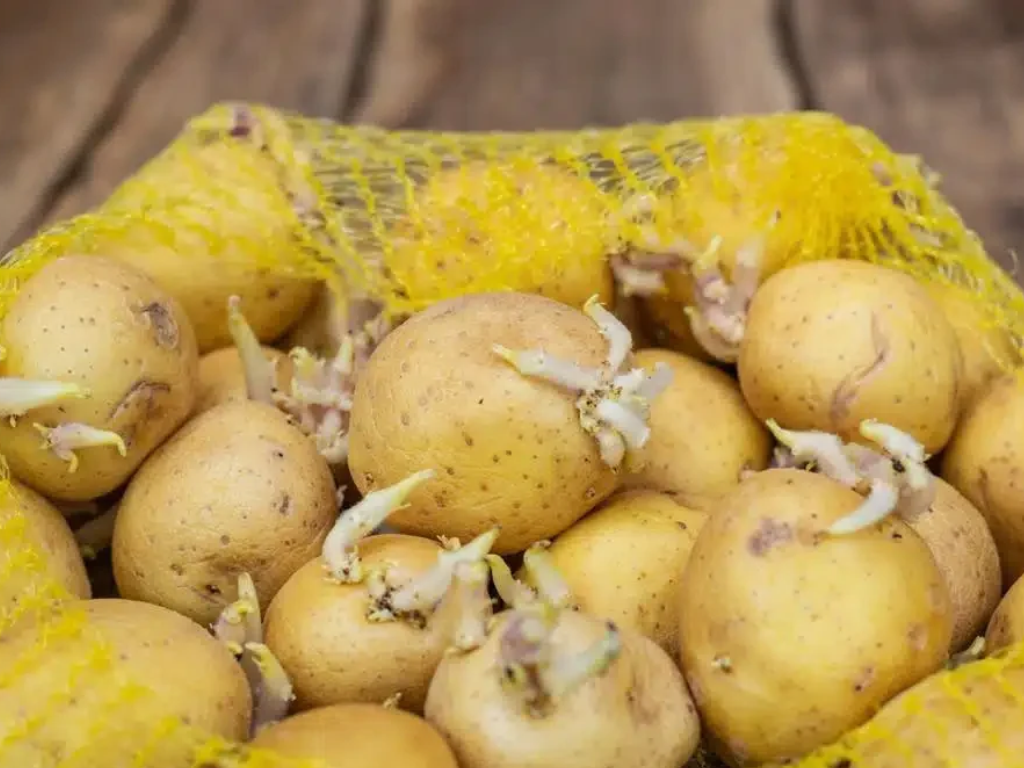
Three Little-Known Tips to Keep Your Potatoes in Perfect Condition Choosing the Right Location for Storage The way you store Read more
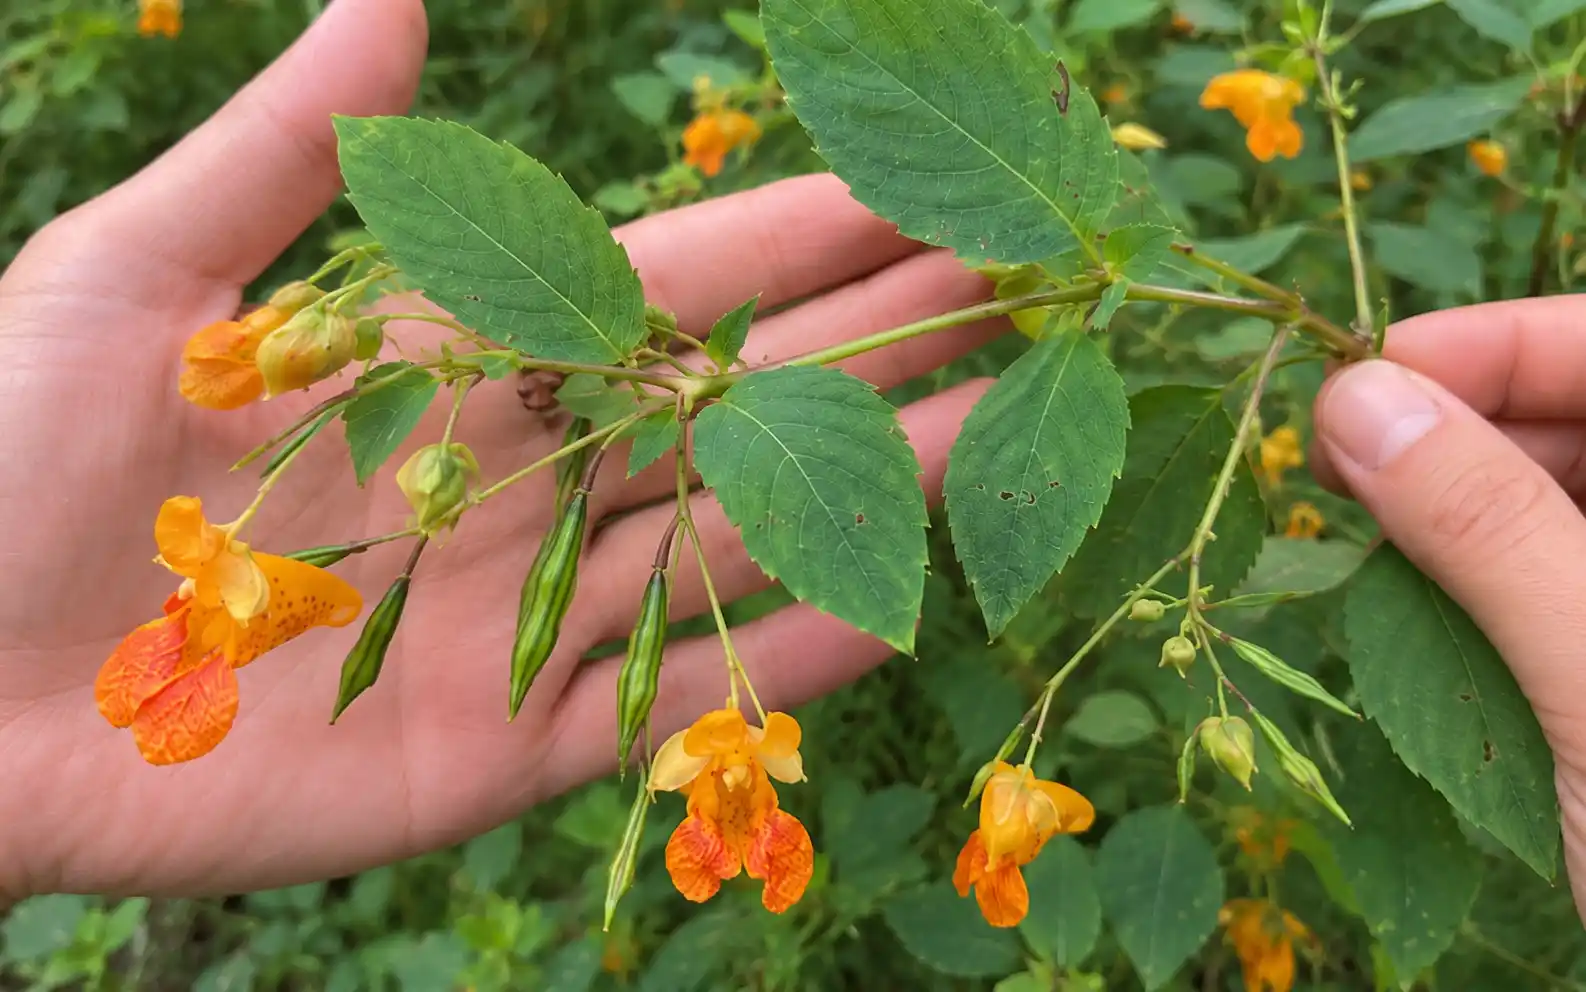
Safety and Medical Disclaimer: The information provided in this article is intended solely for educational and informational purposes. We disclaim Read more
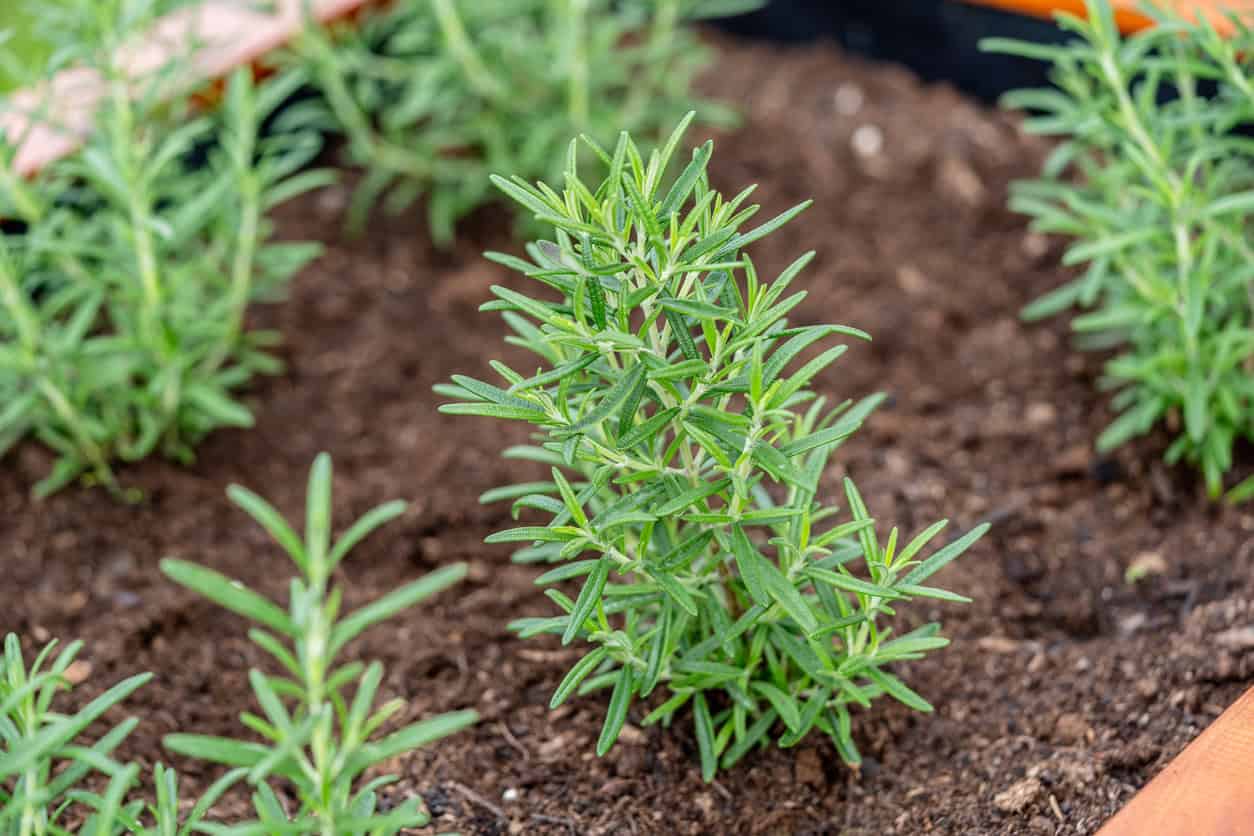
Rosemary is incredibly resilient... truly very robust! If you have ever had the unfortunate experience of adding too much to Read more
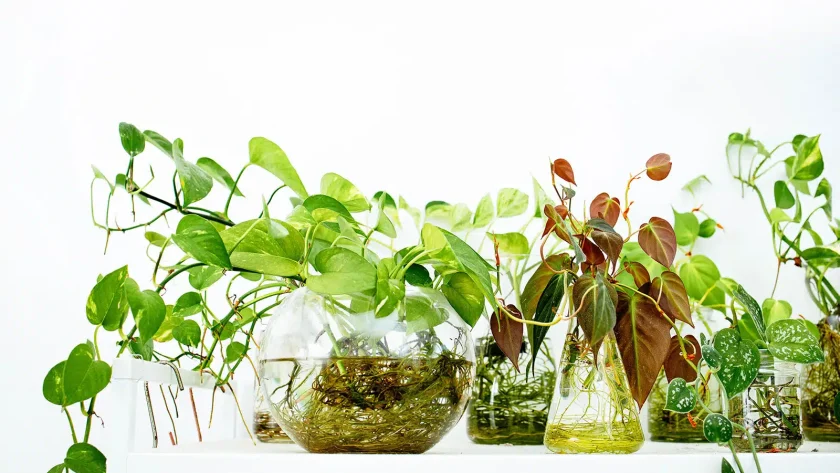
Searching for a distinctive method to incorporate some foliage into your home or workplace? Try cultivating plants hydroponically! Not only Read more

Turmeric is a staple ingredient in Asian cuisine. This vibrant yellow spice, often used to flavor curries and stews, is Read more
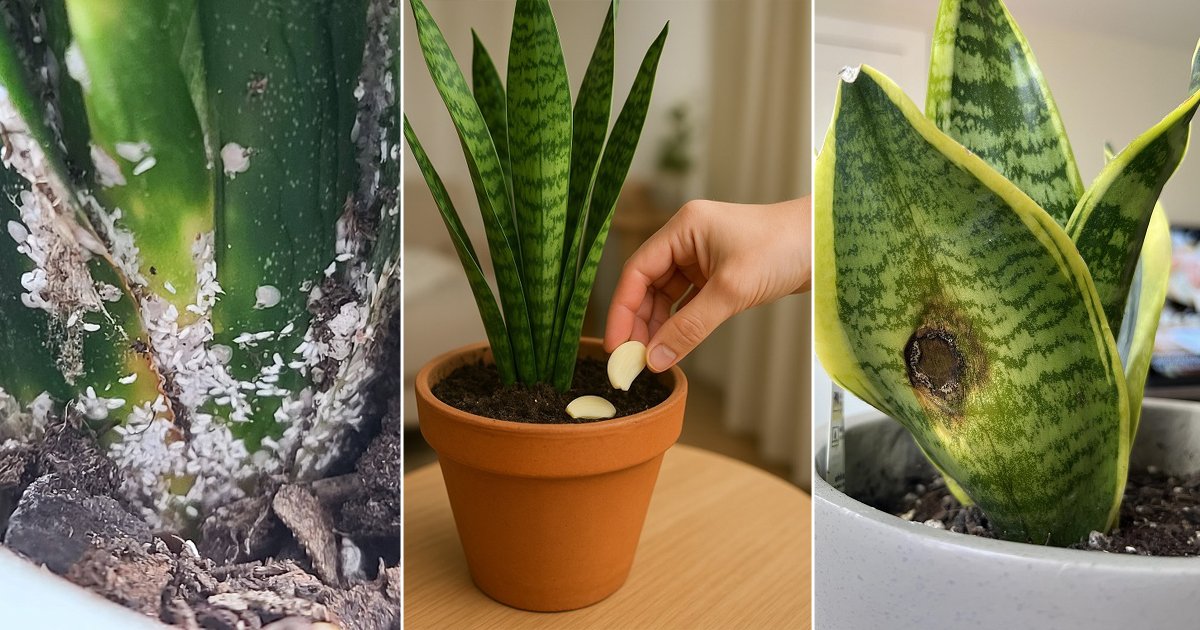
Discover how a simple kitchen ingredient can effectively repel pests, combat diseases, and promote healthier growth in your plants. Snake Read more

Cultivating Zucchini in Containers: A Comprehensive Guide Zucchini is a popular vegetable for gardening aficionados and novices alike. It's simple Read more
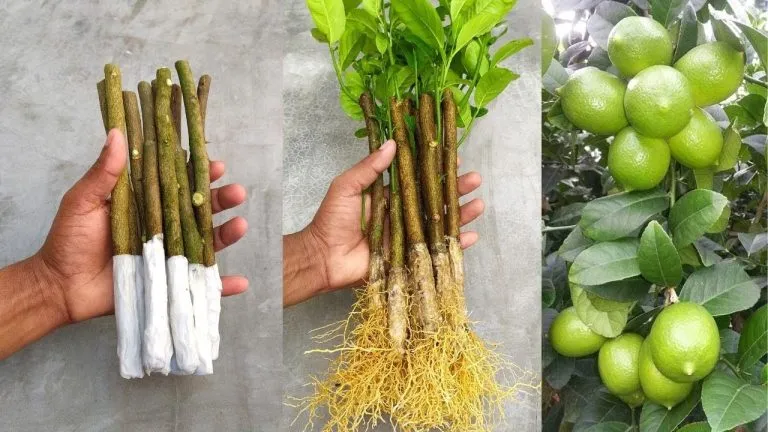
Cultivating lemon trees in your garden or home brings not only visual charm but also the practical advantage of homegrown Read more

Using White Vinegar for Garden Maintenance Gardening is never an easy task. Planting, weeding, and watering plants and flowers require Read more

The Importance and Care of House Plants House plants not only serve as a significant decorative element but also play Read more
Growing Chayote from Supermarket Fruit: Abundant Harvests Made Easy If you've ever strolled through the produce aisle and spotted a Read more

Get a Head Start on Your Garden: Indoor Sowing for Colder Climates There's no need to wait for spring's embrace Read more
Indoor Plants and Their Benefits Indoor plants not only enhance the decor but also bring a touch of lush greenery. Read more
Christmas cacti don’t adhere to the typical “feed once a month and forget it” approach that many houseplants follow. Because Read more
