
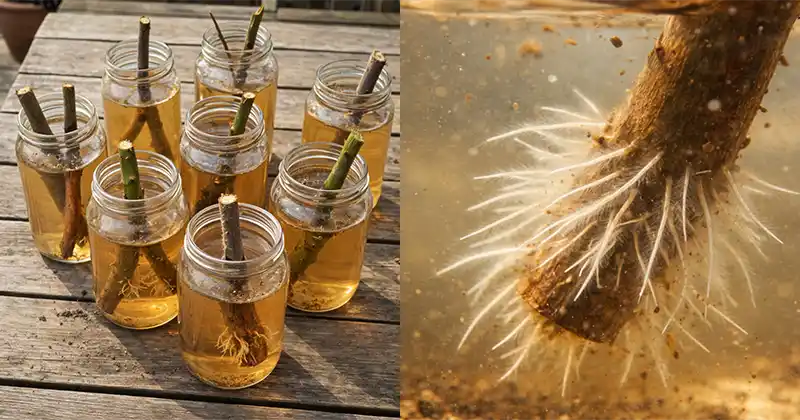
Growing new plants from root cuttings is like discovering a true shortcut in gardening. A single healthy parent plant can generate multiple new plants almost effortlessly, without the need for costly synthetic rooting hormones. With the right timing, clean cutting techniques, and a few gentle homemade aids, root cuttings can heal, awaken, and push out fresh growth with remarkable success.
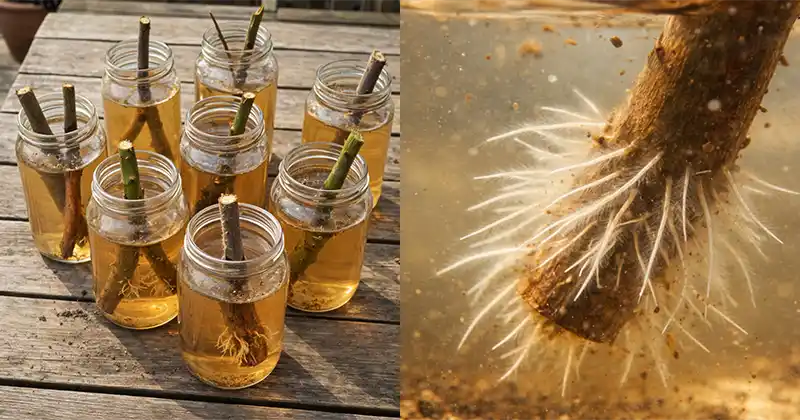
This comprehensive guide will lead you through the process of how to take root cuttings properly, how to plant them, and how to utilize simple homemade rooting aids made from common household materials.
What Exactly Are Root Cuttings (and When Do They Work Best)?
A root cutting is a small piece of root taken from an established parent plant and replanted so it can develop into a new independent plant. This propagation method works best for plant species that naturally send up shoots from their roots or store their energy underground.
Root cuttings tend to be most successful when:
The parent plant is healthy and firmly established. You take cuttings during the plant’s dormant or slow growth phase, usually spanning from late fall through early spring. The roots are kept moist, but never soggy, and special care is taken to avoid rot or fungal infections during the vulnerable early development of the cutting.
Why Choose Natural, Homemade Rooting Helpers?
While homemade rooting aids cannot replace proper technique, they can gently assist and support the rooting process.
Natural rooting helpers contribute by:
Reducing the risk of infection at the cut surface, encouraging callus formation, and creating a mild, forgiving environment that fosters early growth. They are inexpensive, easy to locate, and safe to use without worry of overapplication.
Think of these helpers as added bonuses. The real key to success lies in clean cuts, correct root placement, well-aerated soil, consistent moisture, and plenty of patience.
Step 1: Taking Root Cuttings the Right Way
1. Choose the Right Roots
Select roots that are firm to the touch, pale or tan in color, and visibly healthy. Ideally, these roots should be about pencil-thick, depending on the species, and entirely free from mushy areas, black rot, or unpleasant odors.
2. Make Clean, Intentional Cuts
Use sharp, clean scissors or a knife to take your cuttings. Root pieces that measure approximately 5 to 10 cm (2 to 4 inches) in length work best for most plants. Thicker roots can be a bit longer at your discretion.
3. Mark the Top End
One of the most common mistakes is planting the root cutting upside down. To prevent this, make a straight cut on the top end and a slanted cut on the bottom end. This simple visual cue makes correct orientation obvious when planting.
4. Prevent Drying
Root pieces tend to dry out quickly. Store them wrapped in a damp paper towel inside a plastic bag or placed in slightly moist coco coir or peat while preparing your pots. Keep the cuttings cool and out of direct sunlight during this time.
Step 2: Use the Right Soil Mix
Your choice of soil mix is more critical than any rooting hormone. Root cuttings generally dislike heavy, waterlogged substrates.
An effective soil mix includes:
Equal parts coco coir or peat moss combined with perlite or coarse sand. This blend retains moisture gently while ensuring ample oxygen reaches the developing roots.
Step 3: Planting Root Cuttings Correctly
Option A: Vertical Planting
Insert the root cutting so that the top end is positioned just beneath the soil surface, covered by about 1 cm (½ inch) of your soil mix. This technique is particularly ideal for beginners.
Option B: Horizontal Planting
For thinner roots, lay the cutting flat on the soil surface and cover it with 1 to 2 cm (½ to ¾ inch) of soil mix.
After planting, water lightly to settle the soil around the cutting. The soil moisture level should resemble a wrung-out sponge — never muddy or dripping wet.
Four Simple Homemade Rooting Helpers
Choose one of these homemade methods to assist rooting. Avoid combining multiple helpers simultaneously, as that can do more harm than good.
Aloe Gel Coating
Aloe gel acts as a natural moisturizer for cut surfaces, helping prevent drying out while offering gentle protection.
Apply a thin layer of fresh aloe gel onto the cut end of the root and plant immediately. This approach is clean, mild, and ideal for beginners.
Honey Water Dip
Honey discourages microbial growth on fresh wounds, creating a protective micro-environment.
Mix one teaspoon of honey into one cup of lukewarm water. Dip the cut end for 5 to 10 seconds, allow excess to drip off, and then plant. Avoid thick or sticky coatings that may suffocate the cutting.
Comfrey Tea
Comfrey is best applied as a light soil mist or occasional watering rather than soaking the cutting.
Steep a small handful of fresh or dried comfrey leaves in hot water, strain once cooled, and dilute until it looks like weak tea. Use sparingly, and discard the solution if it develops a sour smell.
Apple Cider Vinegar Micro-Dip
This method requires particular caution: vinegar must be diluted extremely well.
Mix one teaspoon of apple cider vinegar into one liter of water. Dip the cut end for only 1 to 2 seconds and plant immediately. Never increase the vinegar concentration beyond this dilution.
Care After Planting: The Quiet Waiting Phase
Root cuttings often lie dormant for several weeks before they show any sign of growth.
Ideal conditions to nurture cuttings include:
Providing bright but indirect light, maintaining a mild temperature range between 18 and 24°C (65–75°F), and keeping the soil evenly moist without allowing it to become waterlogged.
If indoor air is very dry, you can loosely cover the pot with plastic, creating a mini greenhouse effect. Make sure to ventilate by opening it daily to prevent mold buildup.
Timeframe for Growth and Signs of Success
Some root cuttings will sprout within a few weeks, while others may take longer depending on the species and conditions.
Positive indicators of success include:
Firm, healthy roots without foul odors, soil that remains lightly moist, and eventually new shoots emerging or a subtle resistance when you gently tug the cutting.
Common challenges to watch for:
Mushy or blackened roots usually point to over-watering or poor airflow. Shriveled roots indicate dryness or excessive heat exposure. Surface mold suggests stagnant air. Adjust moisture levels, soil texture, and ventilation accordingly to resolve these problems.
Final Thoughts
Root cuttings offer a straightforward, natural way to multiply your plants. Concentrate on the basics: healthy roots, correct orientation, well-aerated soil, and steady moisture. Optional homemade helpers like aloe gel, honey water, comfrey tea, or diluted apple cider vinegar can support the process but are not essential.
With patience and attentive care, you can transform one plant into many flourishing new ones.

The Wonders of Blueberries: A Guide to Growing and Enjoying This Nutrient-Rich Fruit Mildly sweet, the blueberry is a dark Read more

Different perspectives exist on various aspects of nature, and this holds true for the dandelion, often dismissed as a mere Read more
Do you have indoor plants? They have a unique ability to infuse life and color into any environment, whether it’s Read more

Unlocking the Flowering Potential of Anthuriums Anthuriums are renowned for their stunning, heart-shaped blooms which, under ideal conditions, can grace Read more

Orchids, with their array of species and hybrids exceeding 25,000, stand as a testament to botanical beauty. Cultivators and hobbyists Read more

Cultivating an Avocado Plant Indoors: A Step-by-Step Guide Nurturing an avocado seed into a blossoming plant within the confines of Read more

Cultivating Zucchini in Containers: A Comprehensive Guide Zucchini is a popular vegetable for gardening aficionados and novices alike. It's simple Read more
Three Little-Known Tips to Keep Your Potatoes in Perfect Condition Choosing the Right Location for Storage The way you store Read more

For gardening enthusiasts, it's a known fact that many plants thrive in humid and warm climates conducive to their growth. Read more
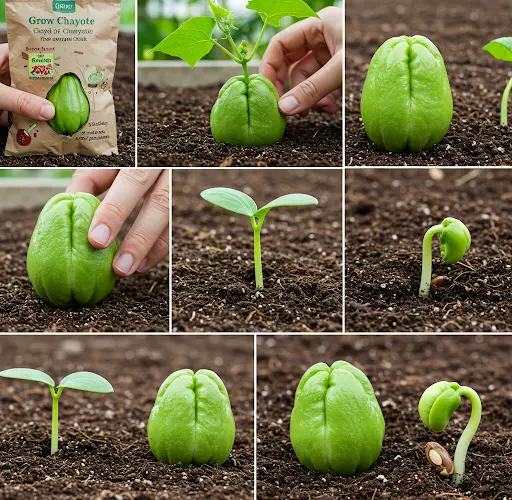
Growing Chayote from Supermarket Fruit: Abundant Harvests Made Easy If you've ever strolled through the produce aisle and spotted a Read more

Navigating Aloe Vera Care: Bypassing Usual Oversights Aloe vera, celebrated for its therapeutic properties and eye-catching demeanor, is occasionally compromised Read more

Wild Medicinal Plants: Harnessing the Hidden Virtues of Earth’s Greenery In the wilderness of our environment—ranging from the expanse of Read more
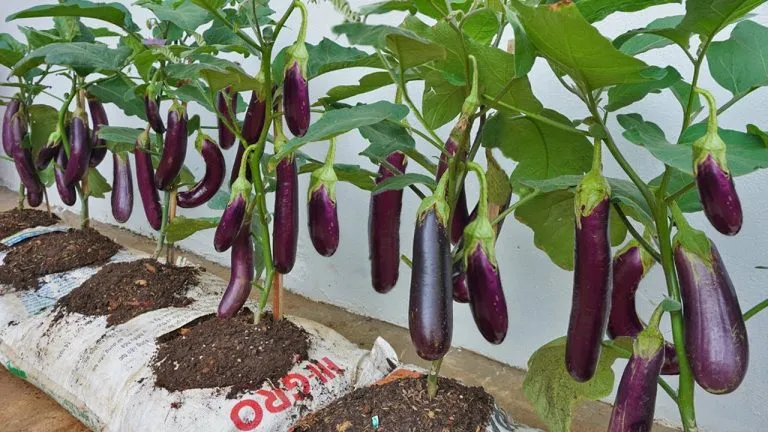
Exploring the World of Eggplants: A Gardener's Guide Eggplants, with their divisive nature, are often a subject of culinary debate. Read more
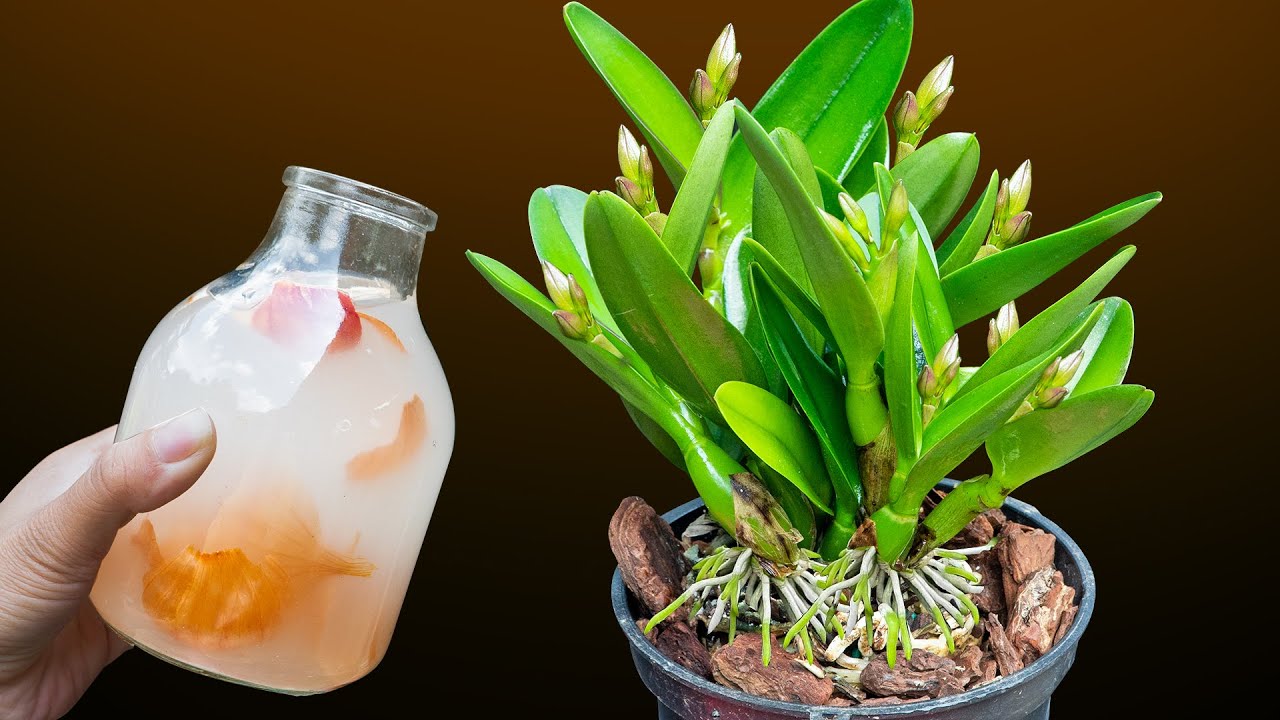
Orchids, celebrated for their exotic beauty and remarkable variety, require tailored care to flourish. While most growers rely on commercial Read more

The Importance and Care of House Plants House plants not only serve as a significant decorative element but also play Read more
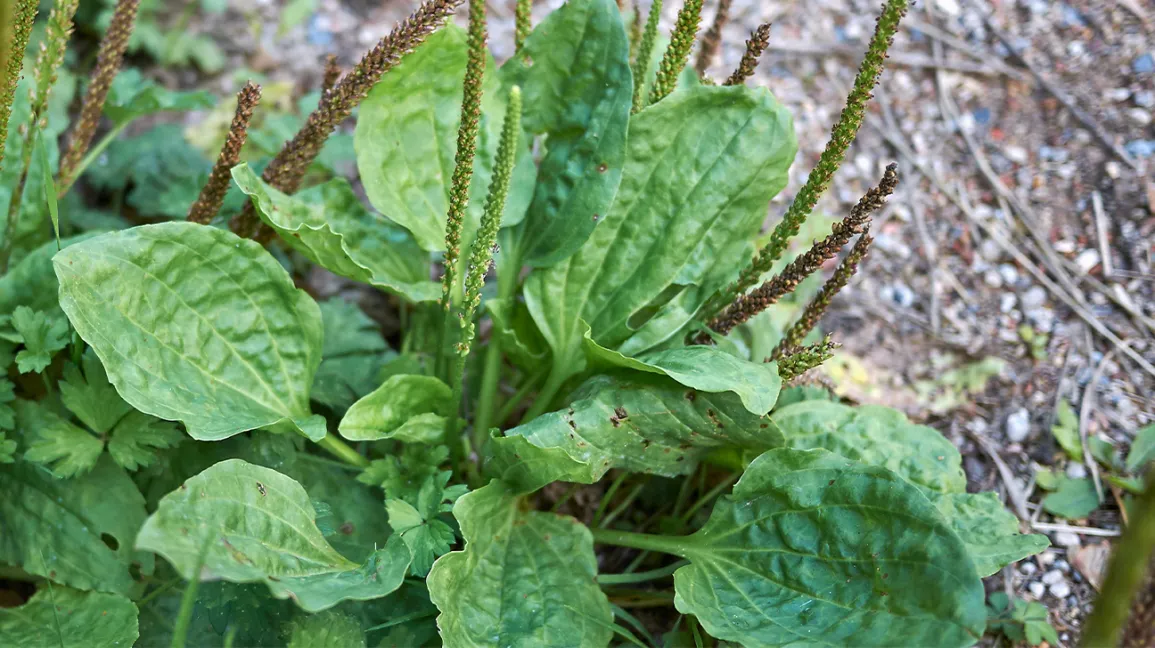
Nature provides us with countless remedies in the form of wild medicinal plants, surrounding us everywhere we go. These healing Read more

How to Reuse Barbecue Ashes After enjoying a barbecue outdoors on a sunny day, the tendency is often to discard Read more
Searching for a distinctive method to incorporate some foliage into your home or workplace? Try cultivating plants hydroponically! Not only Read more
Cultivating lemon trees in your garden or home brings not only visual charm but also the practical advantage of homegrown Read more
Are you searching for an affordable and eco-friendly alternative to chemical fertilizers? An unexpectedly powerful solution might already be in Read more

The Curious Case of Tomato Slices: A Journey from Kitchen Scrap to Sprout As someone always game for a gardening Read more

Understanding Fertilizers for Plants Fertilizer is a product that can be spread or mixed into the soil to provide plants Read more

In the culinary world, garlic is a staple ingredient that is hard to do without. Cultivating it benefits many plants Read more
Easy Clove Growing: From Seed to Spice – A Beginner’s Guide Cloves are among the most treasured spices in the Read more
Self-Seeding Flowers: Effortless Beauty That Returns Every Year When I first fell in love with gardening, my mother came to Read more
Orchids are among the most cherished ornamental plants worldwide, admired for their exotic flowers, graceful forms, and blooms that last Read more

Transforming Garlic Peels into Gold for Gardeners: In the rhythm of kitchen prep, garlic peels are often discarded without a Read more

Tea, the staple of morning routines and afternoon breaks, may have a second life beyond the cup that's often ignored. Read more
When lavender plants are young, they often present an almost perfect image: a compact shrub with silvery-green foliage, a delightful Read more

Using Baking Soda for Plant Care To care for your plants or your vegetable garden, have you considered the DIY Read more

Introducing 15 Health-Enhancing Indoor Plants for a Vibrant Home Oasis Embrace a selection of indoor plants that bring more than Read more

Bananas are a delightful treat, but their peels can be a garden's treasure. Rather than discarding banana peels into compost, Read more

Lavender, a charming addition to any garden, is known for its enchanting aroma and vibrant purple hues. This plant comes Read more

Caring for orchids, known for their exquisite and delicate nature, involves a precise approach to hydration. Orchids differ from typical Read more

Get a Head Start on Your Garden: Indoor Sowing for Colder Climates There's no need to wait for spring's embrace Read more

Indoor Plants: A Decorative Air Purifier Indoor plants have become an essential part of modern decor, increasingly sought-after to greenify Read more
Ginger, renowned for its distinct flavor and numerous health advantages, is a fundamental ingredient in many culinary traditions around the Read more

Gardening: The Harmony of Craft and Nature Gardening brings out a dance between human creativity and the wonders of nature. Read more
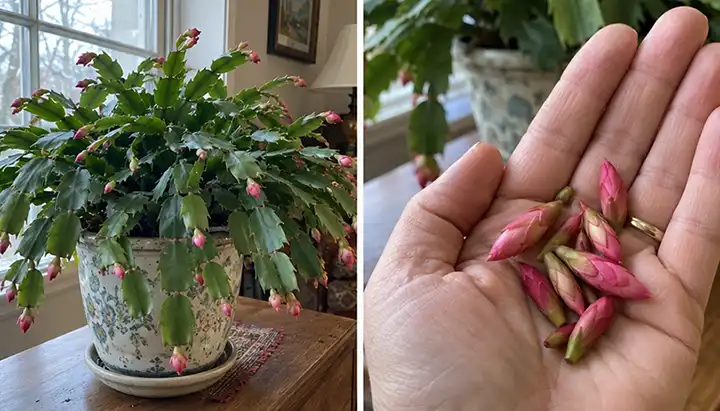
If your Christmas cactus has stayed healthy throughout the year but produced only a few flowers last winter, October might Read more

Growing avocados can be a gratifying experience, especially when you cultivate them right in your backyard. While starting avocados from Read more
