

The Green Solution to Landscaping Woes
Have you ever thought that adding more greenery might just be the cure to most of your yard dilemmas?
From seeking privacy to improving drainage, suppressing weeds, or simply concealing an unsightly scene, nature probably has a green answer waiting for you.
Here’s my experience: Persistent weeds from my neighbor’s yard kept creeping in, sprouting and then shamelessly spreading their seeds all over. That’s when I decided enough was enough!
The Lattice Blueprint
My ambition? A stylish yet enduring lattice trellis that was straightforward to construct.
My search for guidance online wasn’t particularly fruitful. Most designs I found were either standalone structures that needed concrete foundations or involved intricate embellishments and specialist equipment. I wanted something simpler, especially since it would be draped in greenery soon.
My chosen design was both practical and uncomplicated. I decided to secure the lattice onto the fence using three horizontal bars of strapping lumber. These timber strips would ensure rigidity and elevate the lattice by 1.5 inches from the fence, allowing plants the freedom to weave above and below.
This project is ideal for two people, can be accomplished in a few hours, and my total spend on materials was roughly $50.
Materials & Instruments:

- (2) 4×8 lattice sheets
- (3) 2x2x8 wooden beams
- 3” Deck screws
- Power saw or manual saw
- Detail saw
- Portable drill
- Tape measure
- Spirit level
- Writing instrument
- Some wood off-cuts for marking
Step 1: Mapping Out Your Design
Kick-off by outlining where you’d like the lattice to be positioned using your tape measure.
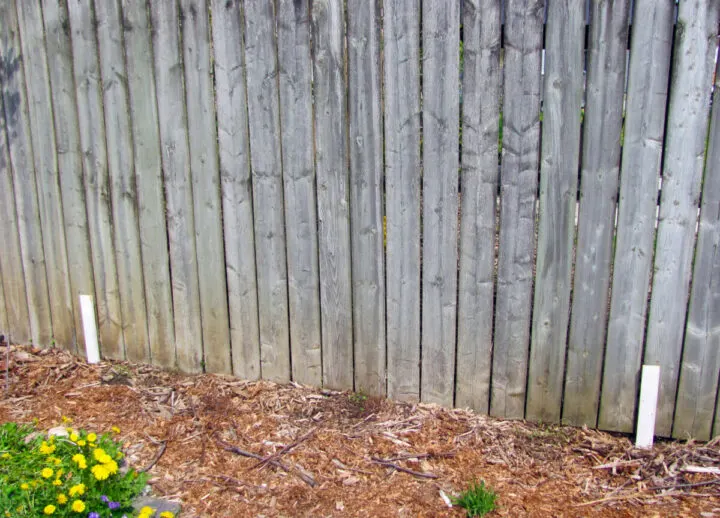
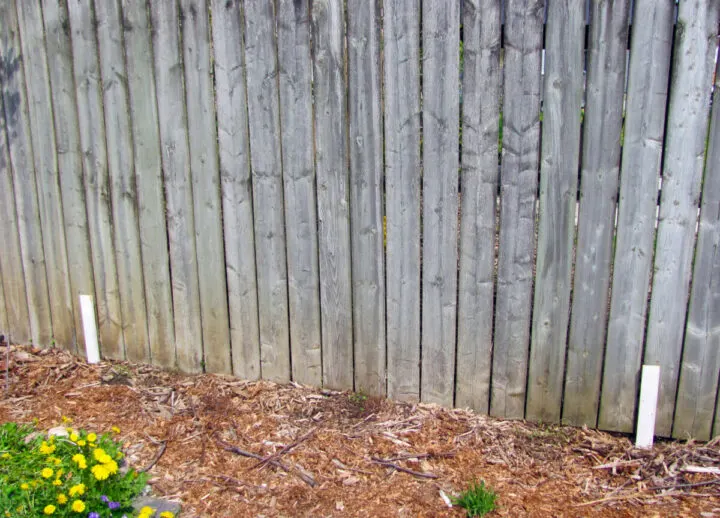
For my project, I used two 4-foot wide lattice sheets, setting them up vertically, achieving an 8-foot span.
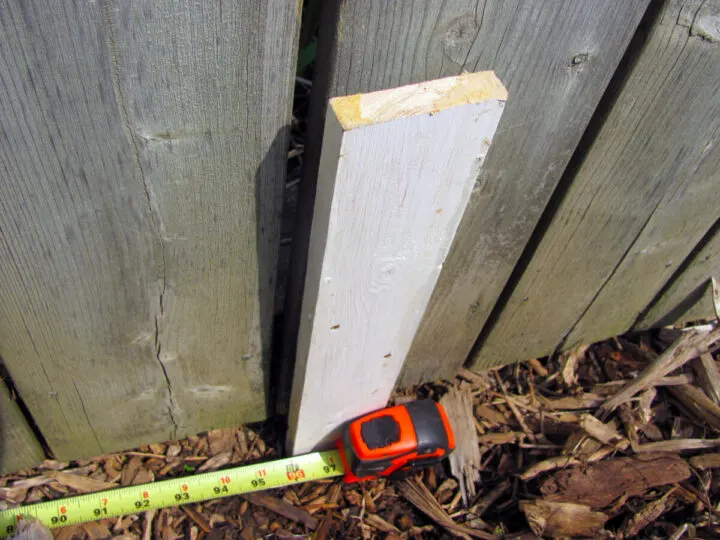
Decide the desired location for your lattice and insert two wooden off-cuts into the soil as markers.
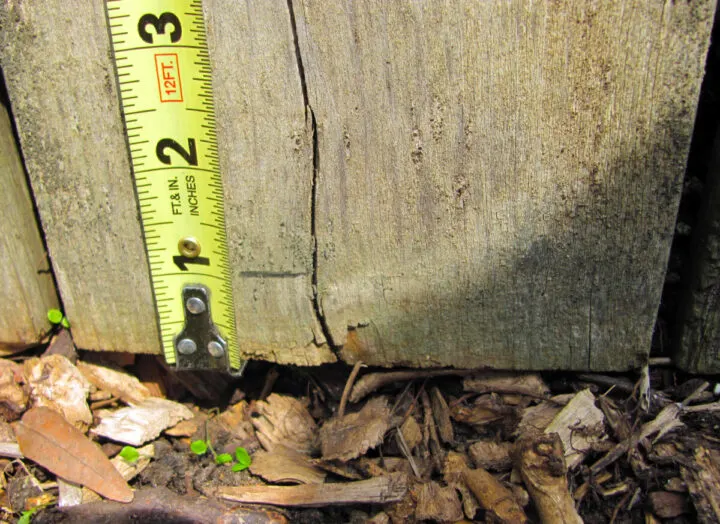
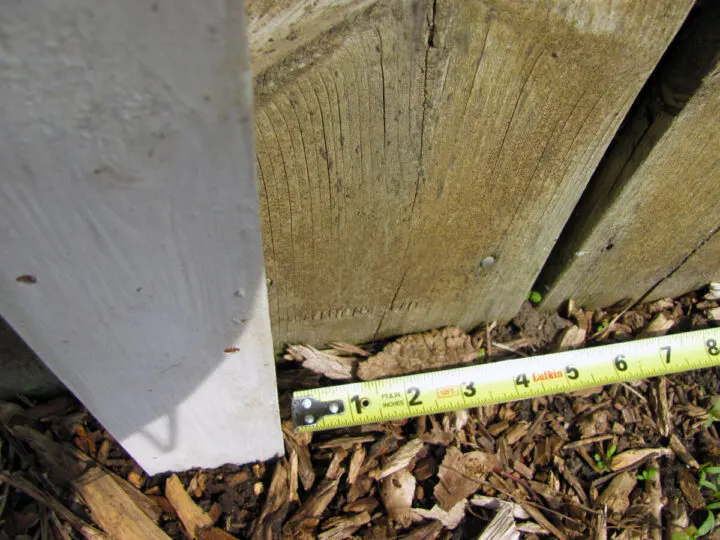
Then, determine your fence’s height and shave off an inch, ensuring the lattice won’t touch the soil.
As the wooden strips will be marginally narrower than the lattice sheets, move 6 inches from each marker and mark these points.
Step 2: Trimming Your Timber
Should your fence exceed 8 feet, no need to trim the lattice. In my scenario, the fence was lower, necessitating some trimming.
Though lattice wood can be delicate, using a detail saw minimizes potential damage. For a smoother hand-cut, place the lattice with staple heads facing up.
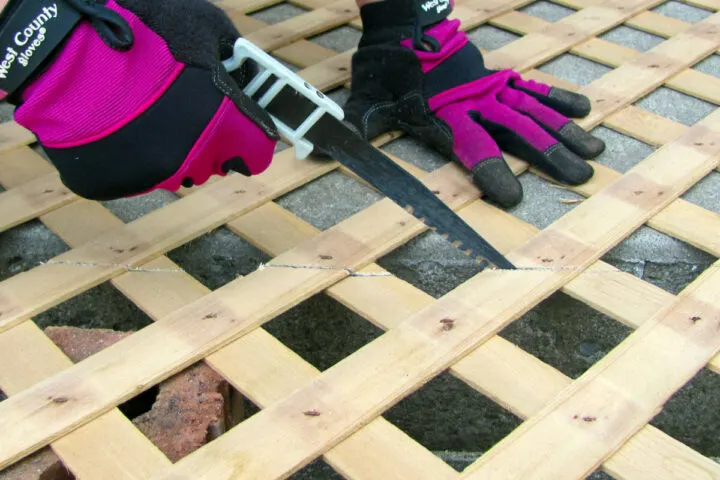
The wooden strips should be 7-foot long, considering they’ll be 6 inches shorter than the lattice on either side.

Step 3: Setting Up the Wooden Strips
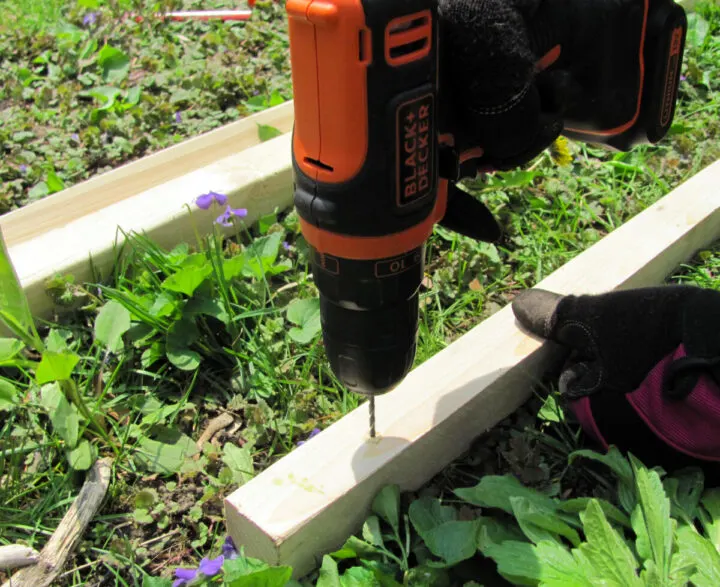
First, drill guide holes into each wooden strip. Begin 2 inches from the ends, then space the rest about 20 inches apart.
Ascertain the best spot for your screws on the wall. In my yard, the fence had convenient rails. If mounting on vinyl, aim for the studs. For brick or concrete, space the wooden strips accordingly.
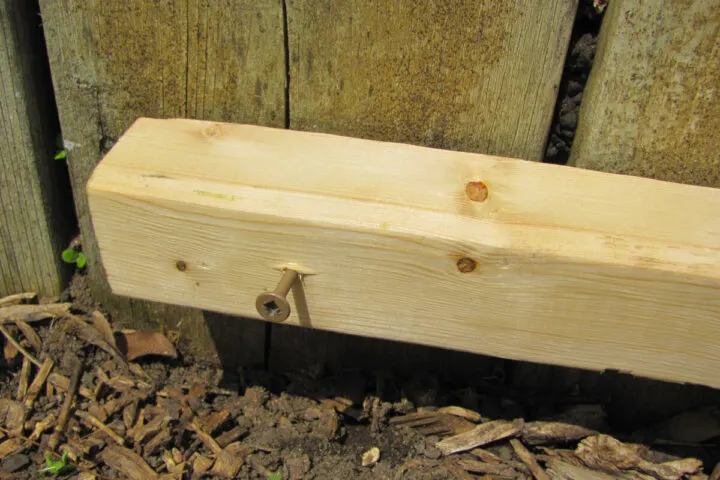
Position a wooden strip against the fence, aligning with your marker, and insert a screw, but don’t tighten fully.
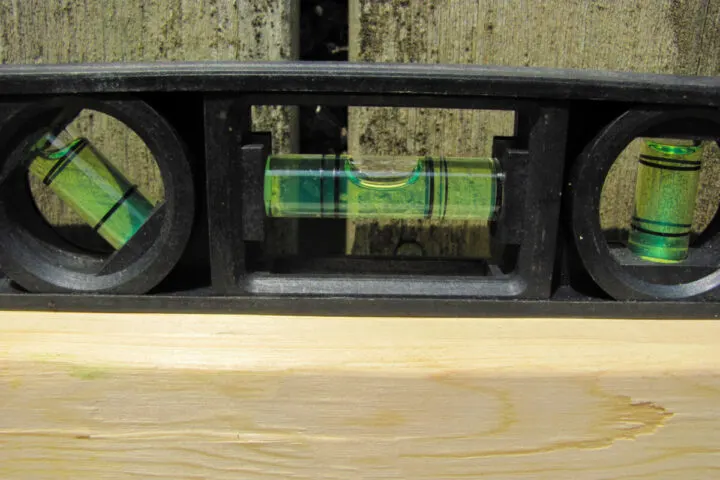
Use a spirit level to ensure alignment, then secure the strip on the other end.
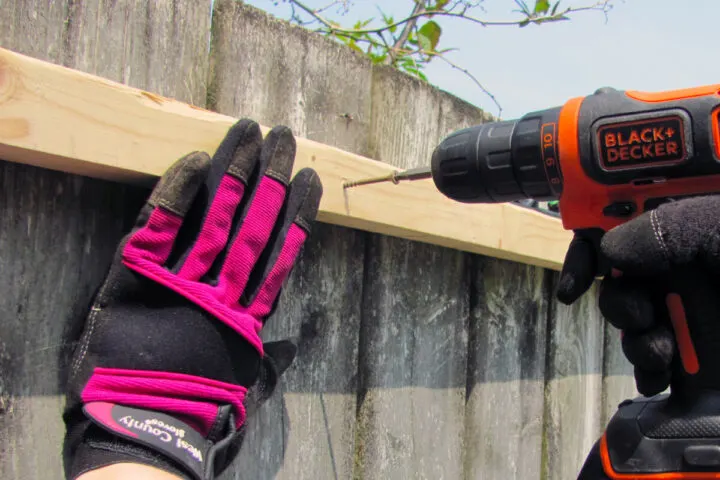
Repeat for all strips.
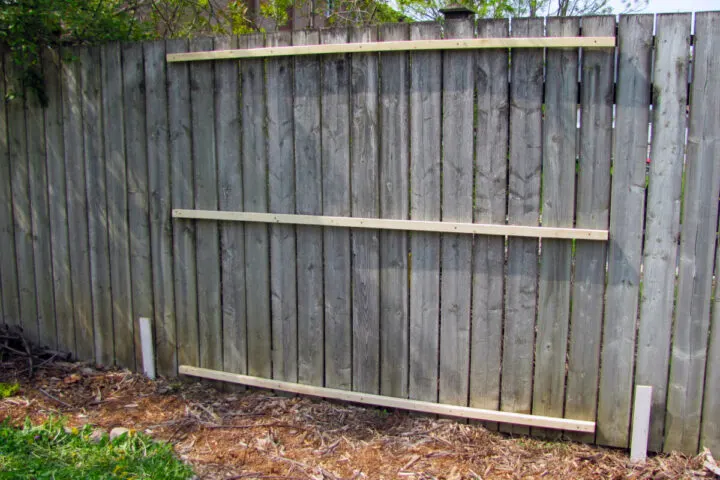
Step 4: Mounting the Lattice Sheets
A lesson I learned the hard way: Always check how your lattice sheets align, especially if you’re aiming for a seamless look.
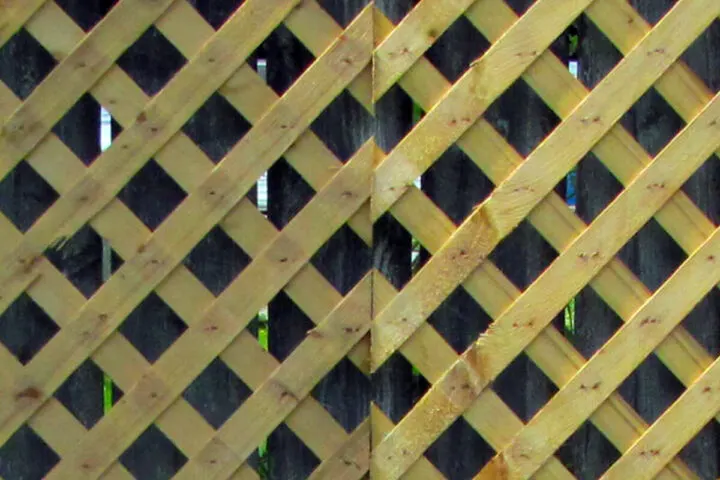
Upon discovering that my sheets didn’t perfectly align, I had to trim 2.5” off one sheet to achieve the desired alignment.
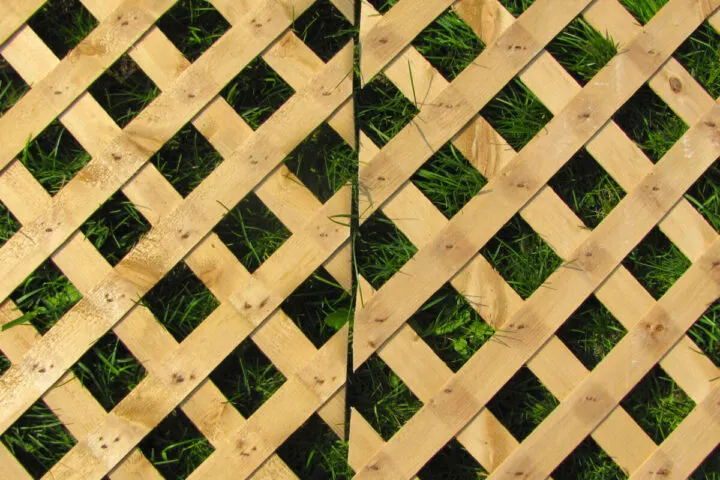
To mount, use the ground markers to ensure your lattice sheet is upright and elevated slightly above the ground.

Start fixing the first sheet from the top, ensuring screws aren’t too tight to avoid damaging the lattice.
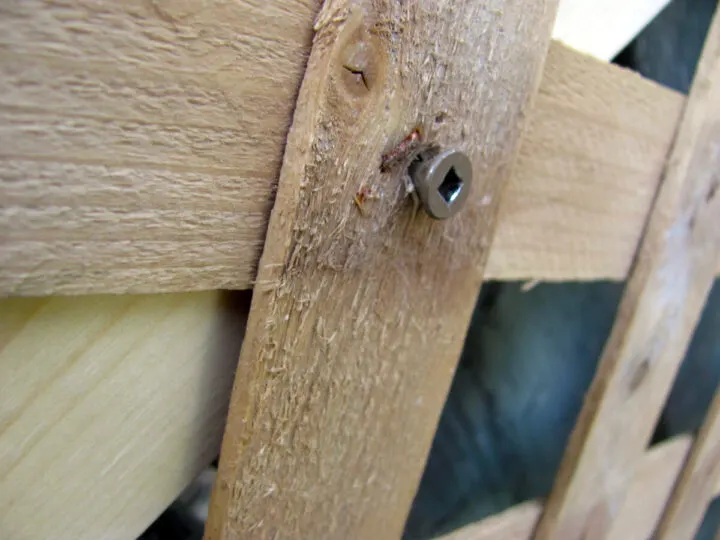
Once secured, replicate for the second sheet, ensuring a minimum ¼ inch gap between them to accommodate any expansion.
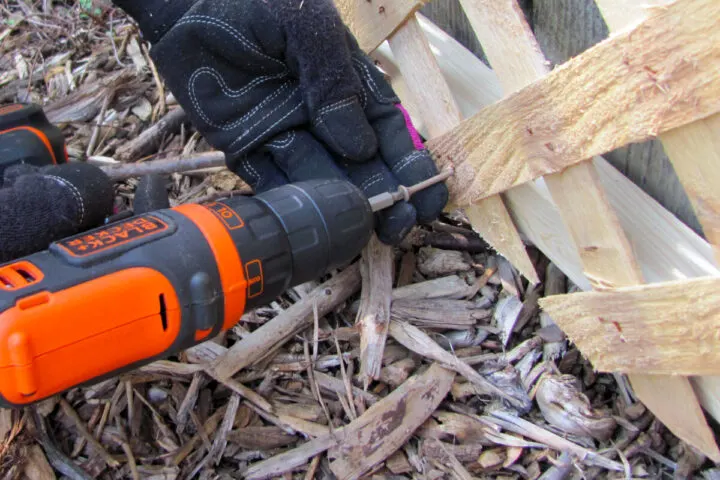
To aesthetically conceal the base gap, spread some mulch.
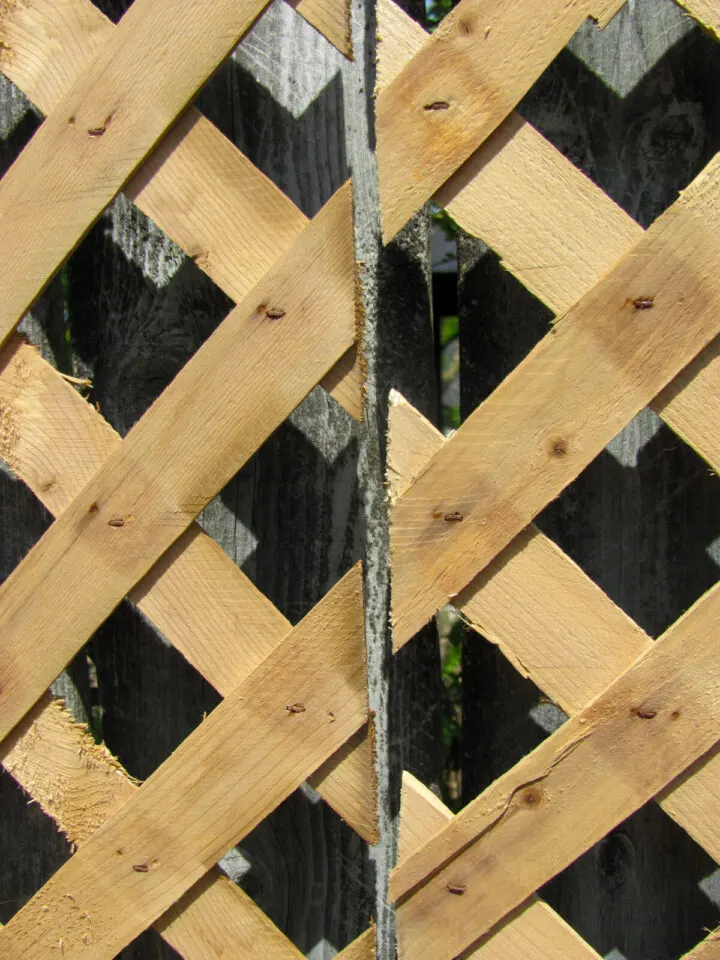
Your trellis is now ready!
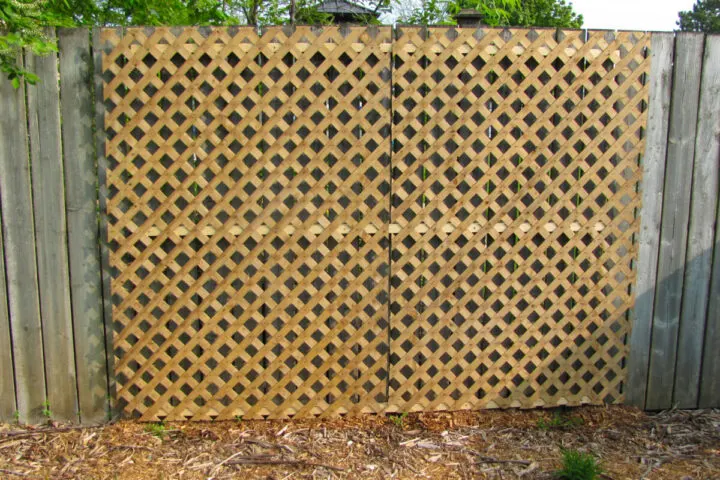
All you need is a little patience as you watch those lovely morning glories climb their new support.


Recycling Bras: A Practical Guide Ladies, let's be honest! We all have a drawer full of old bras that we Read more

DIY Moisture Absorber: Combat Air Humidity and Freshen Your Home The Impact of Humidity on Indoor Air Quality: High humidity Read more
The Rise of Container Homes: From Industrial Boxes to Modern Living Once designed solely to transport goods across vast oceans, Read more

Gardening with Creativity and Recycling It's not always necessary to have a green thumb to dive into gardening. A dose Read more

Reviving Your Old Socks: Creative Uses Most of us declutter our closets once or twice a year, typically with seasonal Read more
Watering Plants Automatically During Your Vacation If you're about to leave for a trip or vacation and won't be able Read more
My Daughter, The Artist My eldest daughter is an artist! Whenever she sees me sorting through my clothes, tablecloths, sheets, Read more
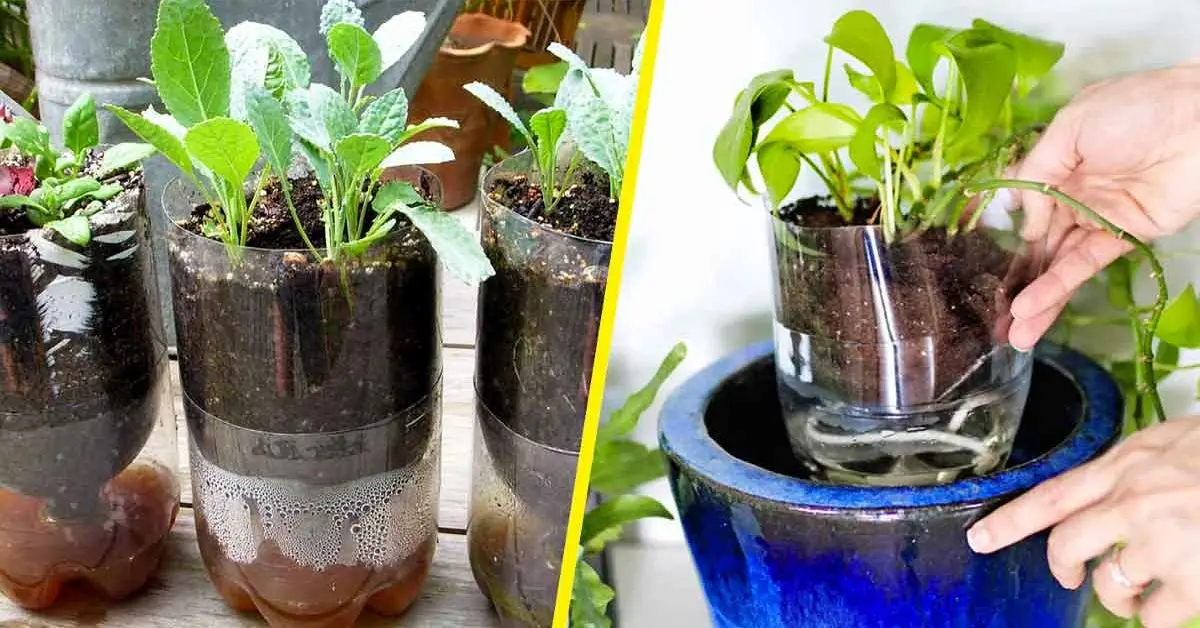
The Challenge with Leaving Plants Unattended When you have a garden or indoor plants, it's challenging to leave for an Read more
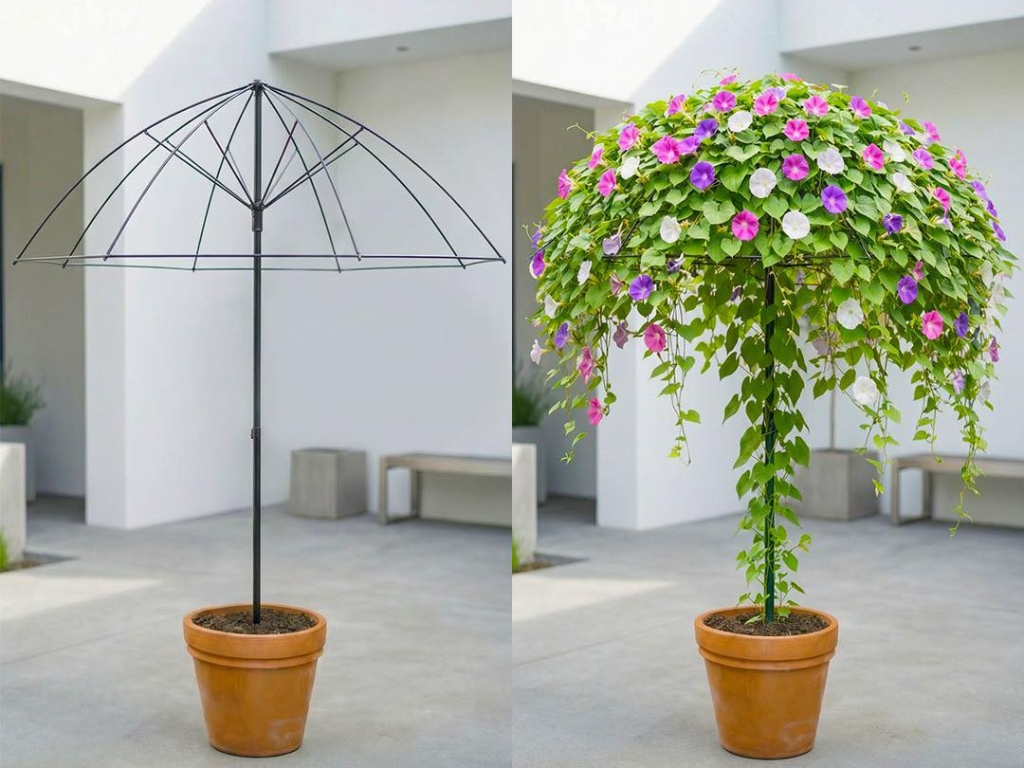
In a quiet, minimalist courtyard, a simple terracotta pot holds what first appears to be a metal umbrella frame. Bare Read more
